Ever felt your calves burning after a long walk or a tough workout?
I have. And I kept wondering why my lower legs always felt weak and tight. Then I found the heel lifts exercise, and things started to change fast.
In this article, I will show you exactly what this exercise is, how to do it right, and why it works. You will get clear steps, easy variations, and safety tips you can actually use.
This is the guide I wish I had when I started out.
I have kept it simple, practical, and straight to the point. No fluff. No complicated techniques.
If your goal is stronger calves, better balance, or faster recovery, everything you need is right here.
What Is the Heel Lifts Exercise?
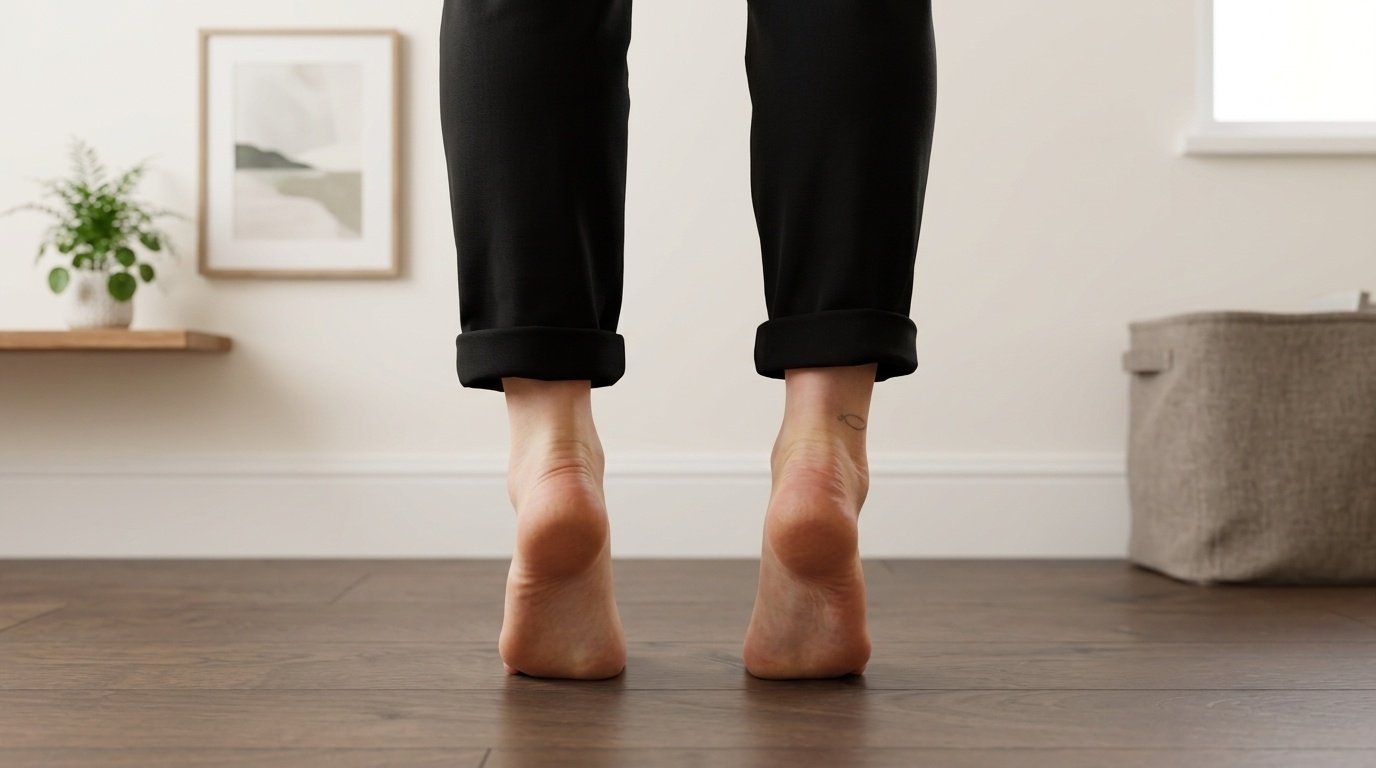
The heel lifts exercise is a simple movement where you rise onto the balls of your feet and slowly lower back down. It is also called heel raises or eccentric calf raises, and the terms are used interchangeably depending on the setting.
It targets the gastrocnemius (the large outer calf muscle), the soleus (the deeper muscle underneath), and a smaller third muscle called the plantaris. Together, these three muscles fuse into the Achilles tendon, which connects your calf to the calcaneus, or heel bone.
These muscles work together every time you walk, run, or climb stairs.
This exercise is widely used in rehabilitation to rebuild strength after injury, in prevention programs to protect the lower leg, and in general strength training because it is low-impact, simple to learn, and highly effective for people at any fitness level.
Benefits of Heel Lifts Exercise

Small movement. Big results for your lower legs.
1. Strengthens the Calf Muscles
The heel lifts exercise directly targets the gastrocnemius and soleus, the two main muscles that make up your calf. With regular practice, this builds real, lasting strength in your lower leg.
Stronger calves improve endurance during daily activities like walking, standing for long periods, and climbing stairs.
I noticed this myself after just a few weeks. My legs felt less tired by the end of the day, and that small shift made a noticeable difference in how I moved and felt overall.
2. Improves Ankle Stability and Balance
Weak ankles make you wobble. Heel lifts strengthen the muscles that support the ankle joint, helping you stay steady on your feet. This is especially important for fall prevention.
Your calf muscles are what catch you and slow you down when you start to lose your balance, so keeping them strong is one of the best things you can do to stay upright. Better ankle strength also leads to better coordination during walking, running, and sports.
If you have ever rolled your ankle before, stronger lower-leg muscles can help protect against that happening again. This is one reason physical therapists regularly include this exercise in recovery and prevention programs for their patients.
3. Supports Achilles Tendon Health
The Achilles tendon takes a lot of stress with every step. Heel lifts apply controlled, gradual load to the tendon, which is exactly what it needs to stay strong and resilient.
The lowering phase of the movement, known as the eccentric phase, is particularly important here. Research has shown that this controlled lowering is beneficial for tendon recovery and is a core part of Achilles tendon rehabilitation programs in clinical settings.
If you are currently dealing with an Achilles injury, always check with a professional before starting. Done correctly and progressively, this exercise can play a meaningful role in rebuilding tendon health over time.
4. Improves Walking, Running, and Everyday Movement
Strong calves create a powerful push-off with every step you take. That push-off is what moves you forward efficiently when you walk or run.
Heel lifts build exactly that strength. Climbing stairs becomes easier. Running feels smoother. Even standing for long shifts becomes less draining.
The improvement comes gradually, but it is real. Once your calves get stronger, everyday movement starts to feel less like work and more like second nature.
5. May Reduce the Risk of Lower-Leg Injuries
Stronger calves and ankles create a more stable foundation for your lower leg. That stability can help reduce the risk of common problems like muscle strains and overuse injuries.
Weak calf muscles can make your legs feel slow and heavy, which affects running speed and endurance and raises the risk of compensation injuries elsewhere.
Heel lifts will not make you completely injury-proof. But when done with proper form and gradual progression, they build the kind of strength that prepares your legs for the demands placed on them every single day.
What Muscles Do Heel Lifts Work?
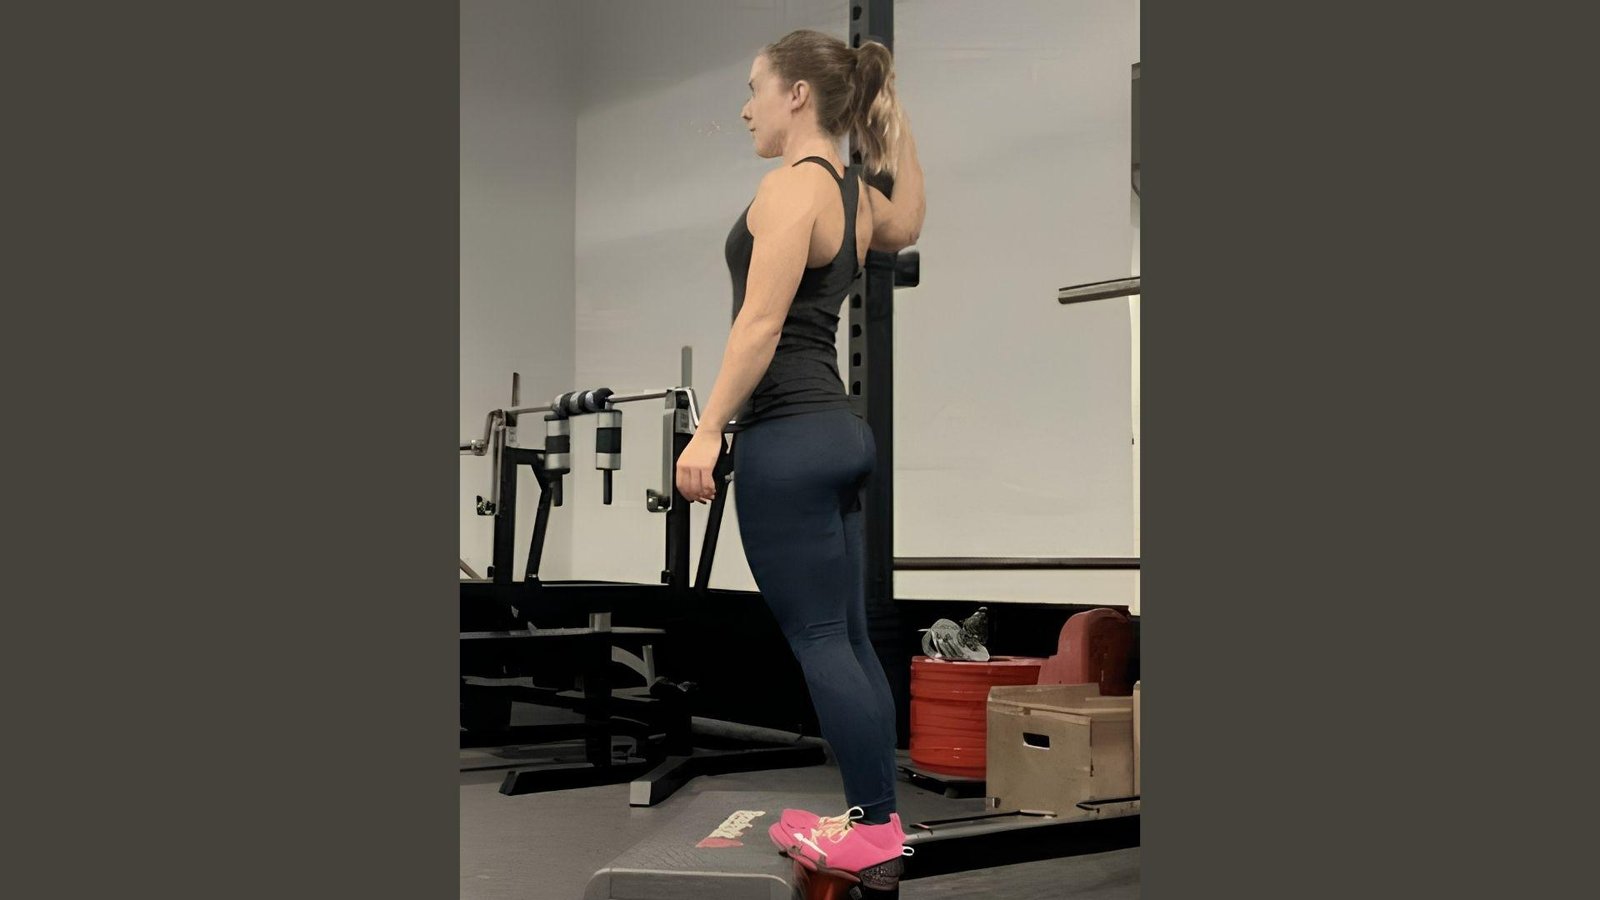
Heel lifts primarily target the gastrocnemius, the large, visible muscle at the back of your lower leg responsible for the rounded shape of your calf.
Beneath it lies the soleus, a deeper, flatter muscle that works hardest when your knee is bent. A smaller third muscle called the plantaris also assists during the movement.
All three muscles merge into the Achilles tendon, which connects to your heel bone. Secondary muscles like the tibialis anterior and intrinsic foot muscles engage to maintain balance and stability throughout the lift.
How to Do the Heel Lifts Exercise Correctly
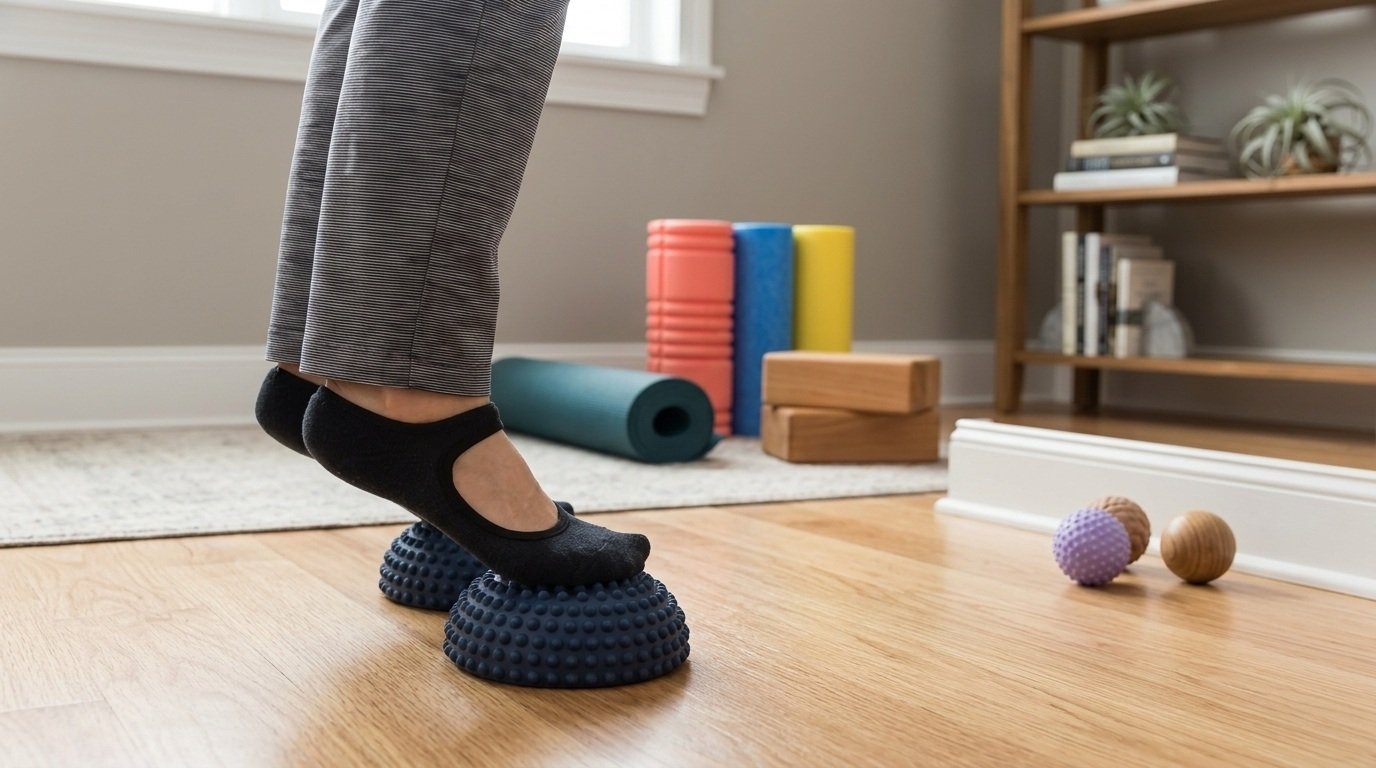
Good form from the start saves you from poor habits and avoidable setbacks later.
Starting Position
Set yourself up before you move a single inch.
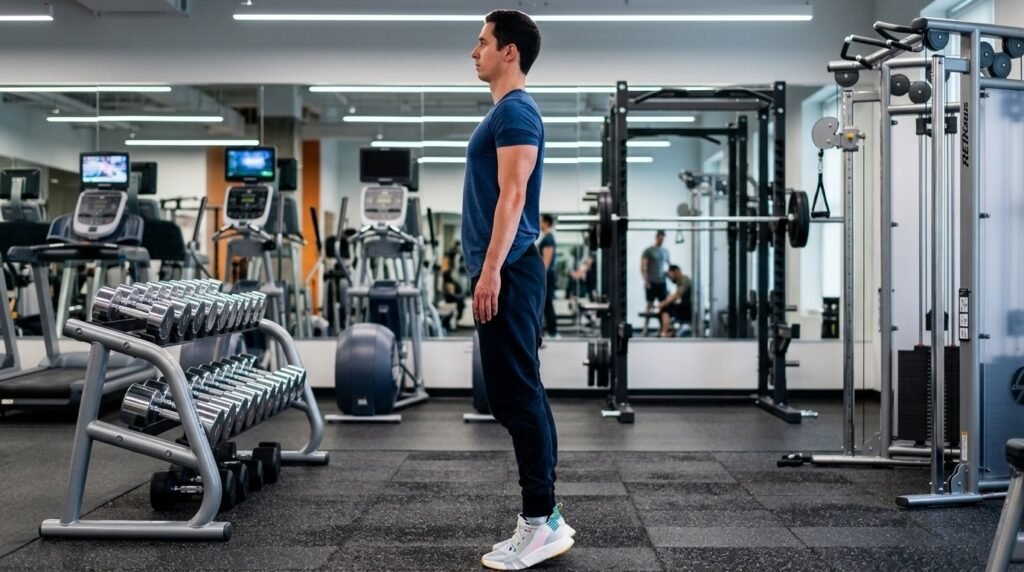
- Place your feet hip-width apart with toes pointing straight forward
- Stand tall with shoulders back, core lightly engaged, and chin level
- Rest your fingertips lightly on a wall or chair if you need help with balance
- Spread your weight evenly across both feet, pressing through the base of your big toe and your little toe before you begin
Step-by-Step Instructions
Slow and controlled beats fast every single time.
- Lift your heels: press through the balls of your feet and rise as high as you comfortably can into plantar flexion
- Pause at the top: hold for one to two seconds to fully engage the calf muscles
- Lower with control: bring your heels back down slowly and deliberately during the eccentric phase; do not just drop them
- Repeat: work through your recommended reps with a steady, consistent pace throughout
One important form note: do not lock your knees at any point during the movement. Keep a very slight softness in the knee joint throughout.
Sets, Reps, and Progression
Start where you are. Build from there week by week.
- Beginners should aim for 10 to 15 repetitions per set when starting out
- Try 2 to 3 sets, three to four times per week for consistent, steady improvement
- Move to single-leg heel lifts once the two-leg version feels easy and fully controlled
- Add dumbbells or a weighted vest after single-leg reps become manageable and stable
- Always increase reps, sets, or resistance one step at a time to avoid overloading your muscles through progressive overload done too quickly
Progression looks different for everyone. Move forward only when your body feels genuinely ready.
Heel Lifts Exercise Variations
Same core movement, different angles and challenges. Pick what fits your goal right now.
Standing Heel Lifts
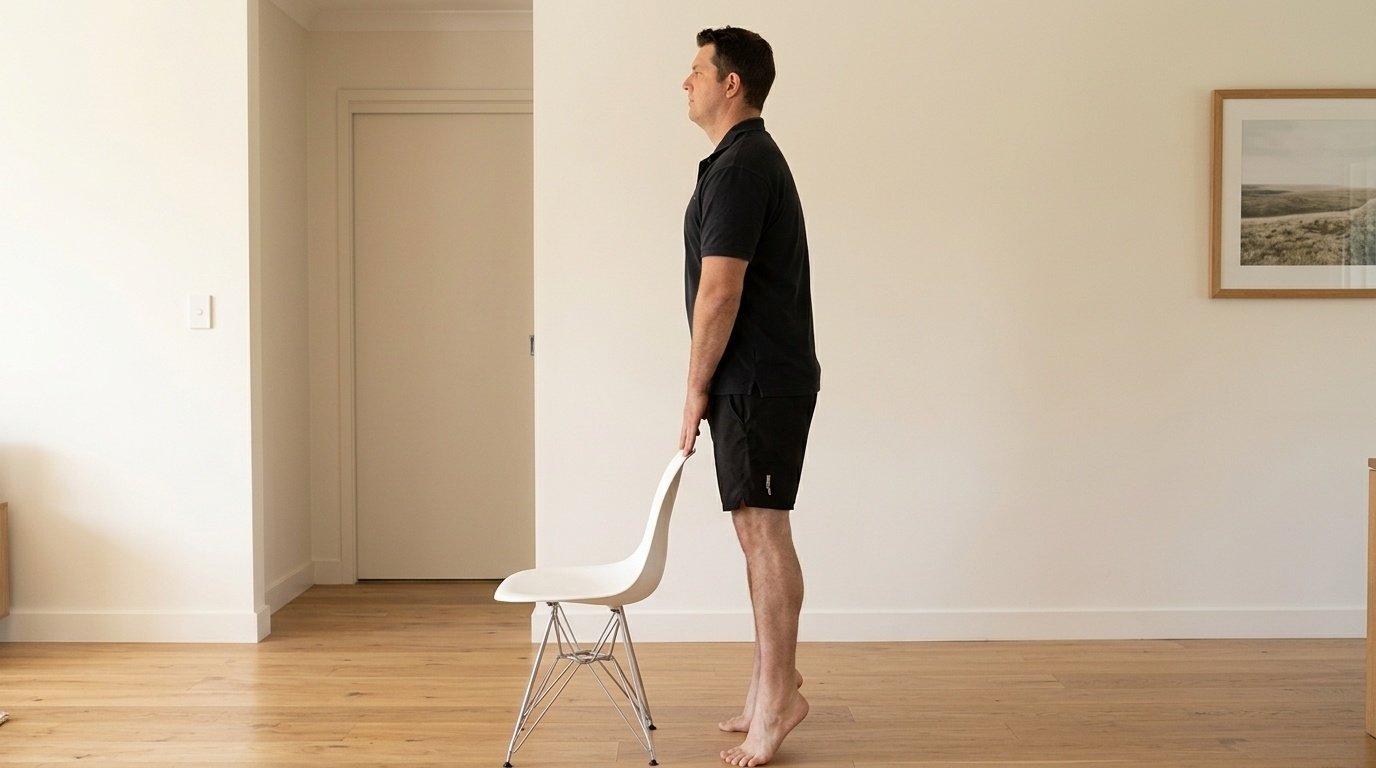
Standing heel lifts are the most common version of this exercise. You rise onto your toes from a flat surface using both feet at the same time.
This variation is best for overall calf strengthening and balance. It is simple enough for complete beginners but still effective for people at all fitness levels.
Add a step or resistance to increase the challenge. If you are new to calf training, this is where you should begin. It builds a solid foundation before you progress to harder variations.
Seated Heel Lifts
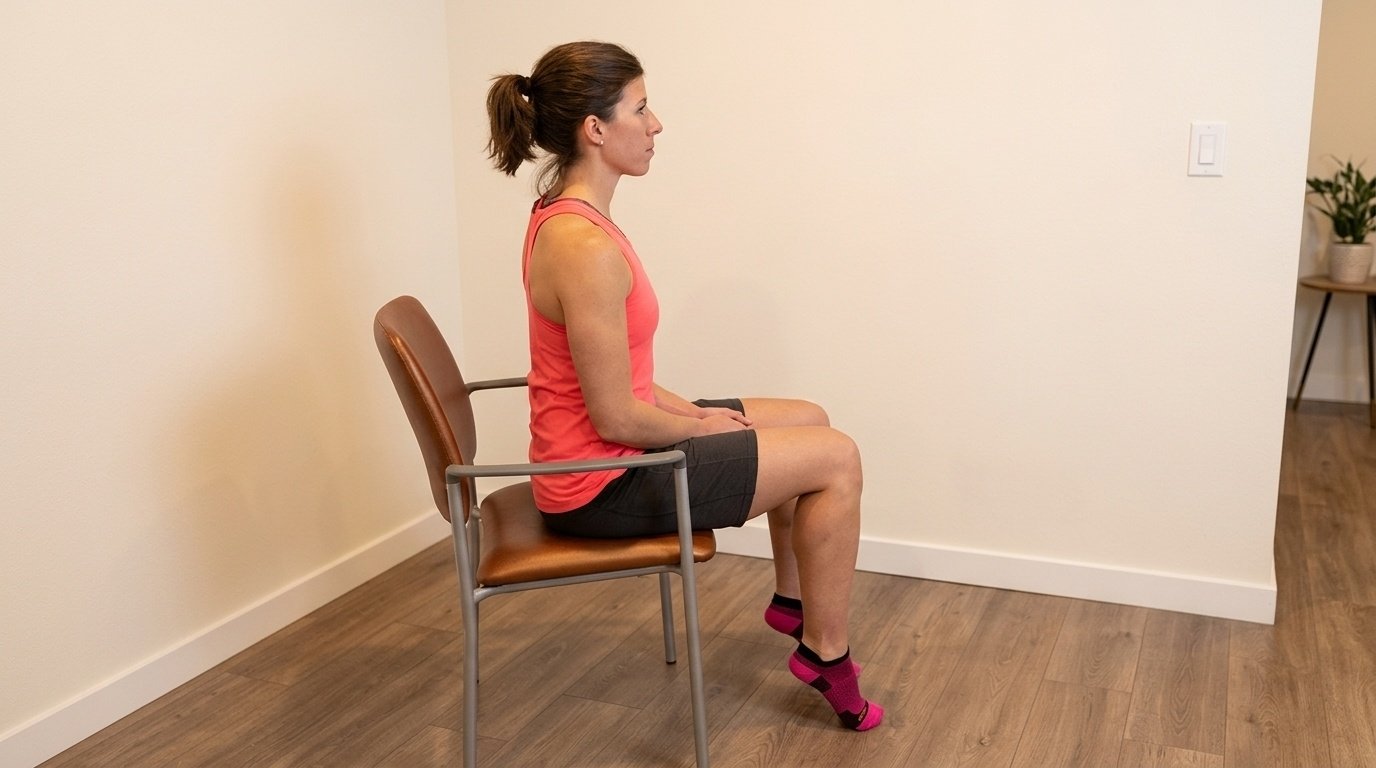
In this version, you sit in a chair and lift your heels off the floor while keeping your knees bent at 90 degrees.
The seated position targets the soleus more directly than the standing version does. This makes it a great starting point for beginners, older adults, or anyone going through rehabilitation.
It is also lower impact on the knees and back. I do these at my desk sometimes during work breaks. They are simple, effective, and easy on the joints, which makes them very practical.
Single-Leg Heel Lifts
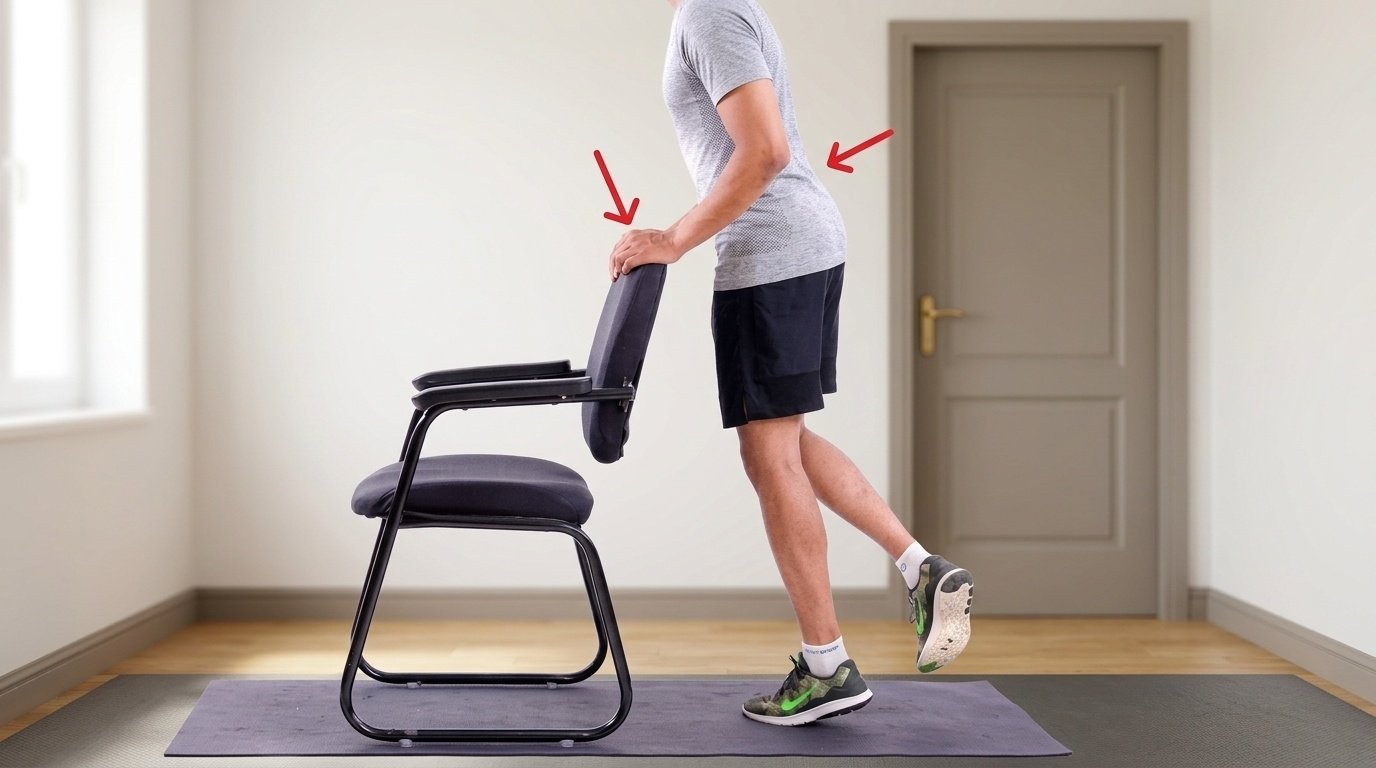
This is the step up from the standard version. You perform the movement on one foot at a time, keeping the other foot lifted. Single-leg heel lifts build strength in each leg independently.
This helps correct imbalances between your left and right side. It also challenges your balance and ankle stability far more than the two-leg version.
Start with a wall nearby for support. Once you feel steady and confident, try doing them without holding on to anything.
Heel Lifts on a Step
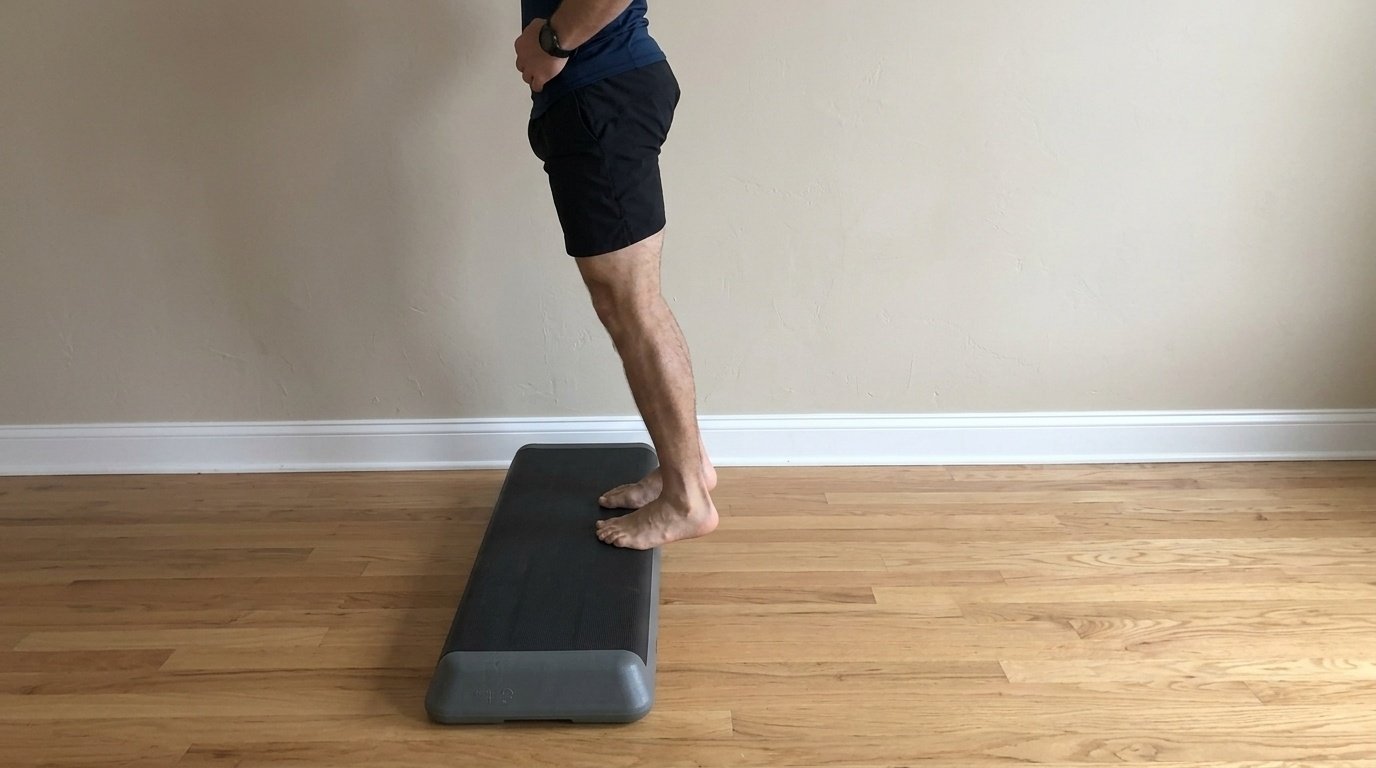
Stand on the edge of a step with your heels hanging off the back. Lower your heels below the step level first into full dorsiflexion, then press up as high as you can.
This increases the range of motion significantly. Your calf muscles stretch more at the bottom and contract harder at the top. More range means greater muscle activation throughout the movement.
This version is popular in both fitness and rehabilitation programs. Be careful with this one if you have any Achilles sensitivity, as the extra stretch can aggravate the tendon.
Who Should and Shouldn't Do Heel Lifts Exercise?
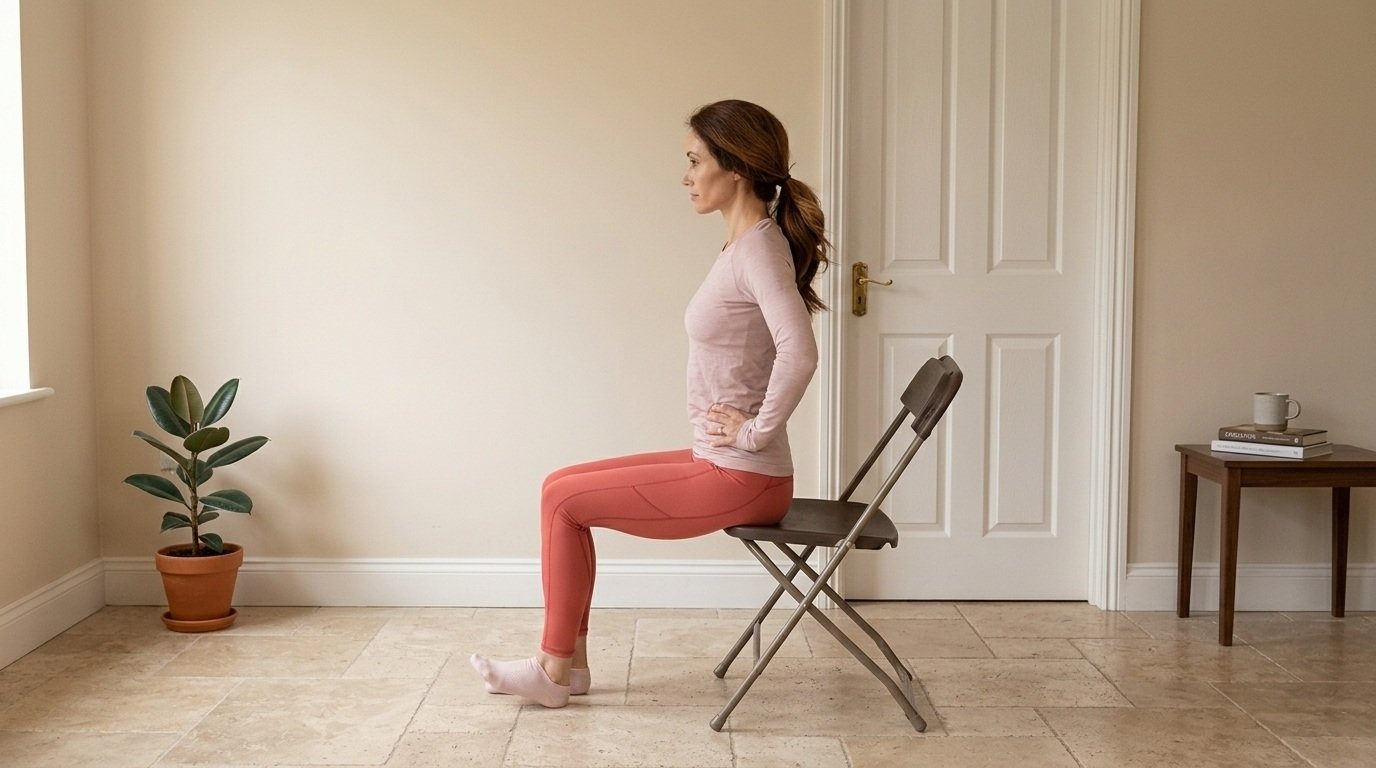
This exercise works well for most people, but it is not right for every situation.
- Good fit for: beginners, older adults, athletes, people recovering from calf or ankle injuries with professional guidance, and anyone wanting stronger and more stable legs
- Use caution if you have an active Achilles tendon injury, plantar fasciitis, or have recently had foot or ankle surgery get clearance from a professional such as a physiotherapist or podiatrist first
- Not advised for anyone with severe ankle instability, open wounds on the foot, or unmanaged pain in the lower leg without medical input
- Works well for office workers, runners, people who stand for long hours, and those returning to activity after a period of rest
- When in doubt, check with your doctor or physiotherapist before adding this exercise, especially if you are coming back from injury or surgery
The right approach always depends on your personal condition and health history.
Heel Lifts Exercise for Rehabilitation
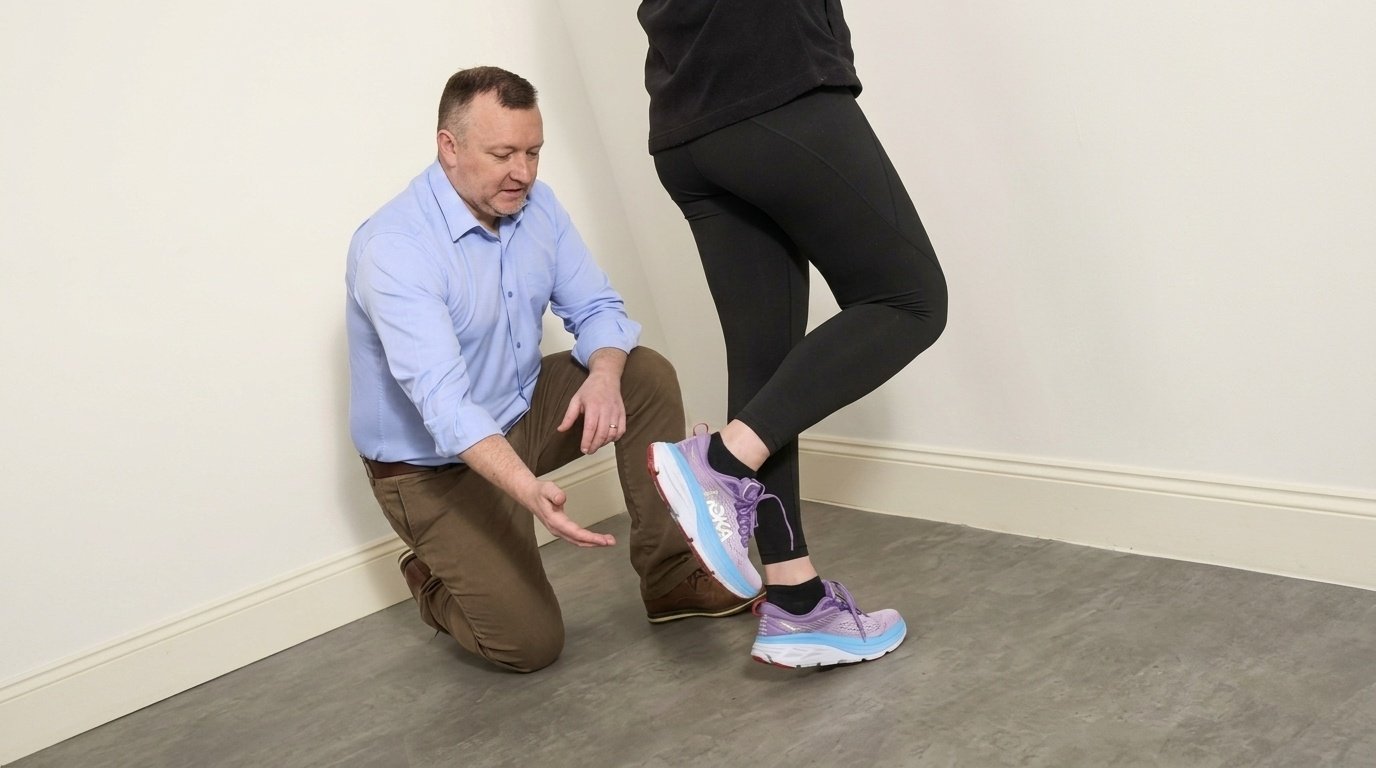
Heel lifts can be a key part of recovering from lower-leg injuries, but patience matters here.
Achilles tendon recovery, heel lifts are often one of the first exercises introduced in a rehabilitation program.
The goal is controlled loading just enough stress to encourage healing without making things worse.
The eccentric phase, the controlled lowering part, is where much of the therapeutic benefit comes from. Start with both legs, then gradually shift to single-leg work as strength improves.
A useful middle step is the "two up, one down" method: rise with both feet, transfer all your weight to one foot, then lower slowly. This builds eccentric strength without the full load of a single-leg lift from the start.
Rushing this process can set your recovery back. Work alongside a physiotherapist or podiatrist to load the tendon at the right level for your stage of healing.
Heel Lifts Exercise vs Calf Raises: What's the Difference?
You will often see these two terms used interchangeably. They are closely related, but there is a difference in how and where each term is typically used.
| Feature | Heel Lifts Exercise | Calf Raises |
| Purpose | Rehab and strengthening | Strength and muscle building |
| Difficulty | Beginner-friendly | Beginner to advanced |
| Variations | Standing, seated | Standing, seated, weighted |
| Best For | Recovery and balance | Fitness and performance |
Heel lifts and calf raises are the same movement, just named differently depending on whether you are in a clinic or a gym.
Safety Tips for Better Results
Get the basics right and your progress will be steady and injury-free.
- Warm up first: spend five minutes walking or doing light leg swings before you begin
- Use support if needed: a wall or sturdy chair keeps you stable and reduces the risk of falling
- Wear supportive shoes:particularly helpful on hard floors or when adding extra resistance
- Move slowly and with control:rushing through reps lowers the benefit and raises injury risk
- Do not lock your knees: keep a slight softness in the knee joint throughout the movement
- Stretch your calves after every session: hold a standing calf stretch for 20 to 30 seconds
- Progress gradually: adding too much resistance or volume too quickly leads to overuse and setbacks
Consistency and patience will always get you further than rushing.
Conclusion
I started doing the heel lifts exercise after a minor Achilles flare-up a couple of years ago. Honestly, I thought it looked too basic to do much. I was completely wrong.
Within a few weeks, my calves felt noticeably stronger. My ankles felt steadier. Simple things like walking uphill and climbing stairs got easier without me even trying.
If stronger legs and better balance sound good to you, start today. Ten reps. That is all it takes to begin.
Drop a comment below and let me know how it goes. And if this helped you, share it with someone who could use it too.
Frequently Asked Questions
Can heel lifts help with knee pain?
Yes, stronger calves reduce the load transferred up the chain to the knee, which can ease pain from conditions like patellofemoral syndrome or general knee overuse.
How long does it take to see results from heel lifts?
Most people notice stronger, less tired calves within two to four weeks of doing 3 sets, three times per week consistently.
Should you do heel lifts every day?
Yes, heel lifts can be done daily because the calf muscles recover quickly, but beginners should start with three to four days per week and build up gradually.
Do heel lifts make your calves bigger?
They build functional calf strength and muscle tone, but significant size increase requires added weight and higher volume over several months of consistent training.