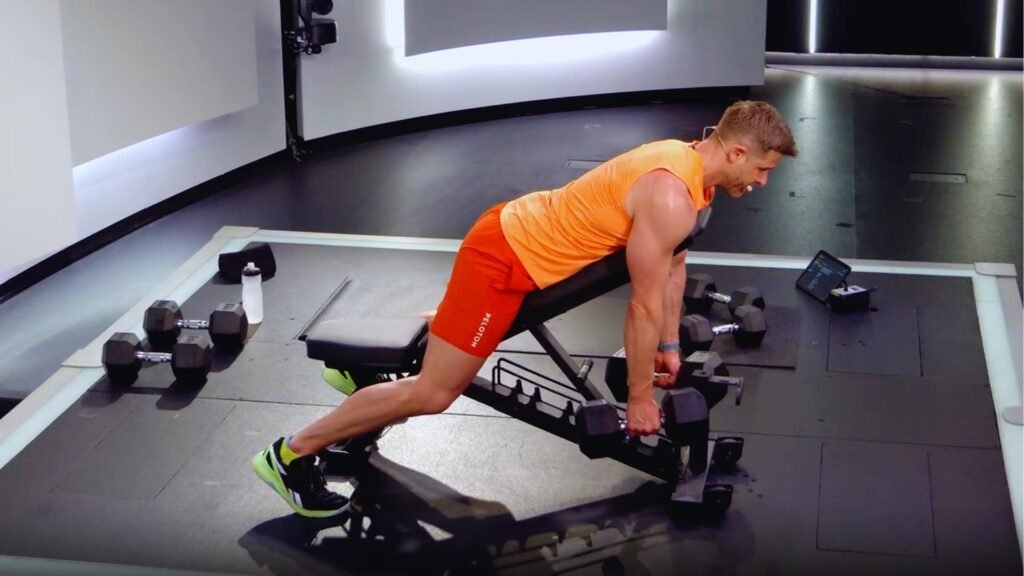
Many people struggle to build a thick, strong back because other rowing exercises make it easy to cheat with the lower back.
If you've ever felt your spine taking over during bent-over rows, you're not alone.
The chest support row fixes that problem by giving your chest a place to rest so your back does all the actual work.
This guide covers everything you need to know, including proper form, muscles worked, the best variations, and common mistakes to avoid.
You'll learn how to use the chest support row to get more out of every pulling session.
Coaches and experienced lifters have long used this movement to help people build real back thickness, and it can do the same for you.
What Is the Chest Support Row?
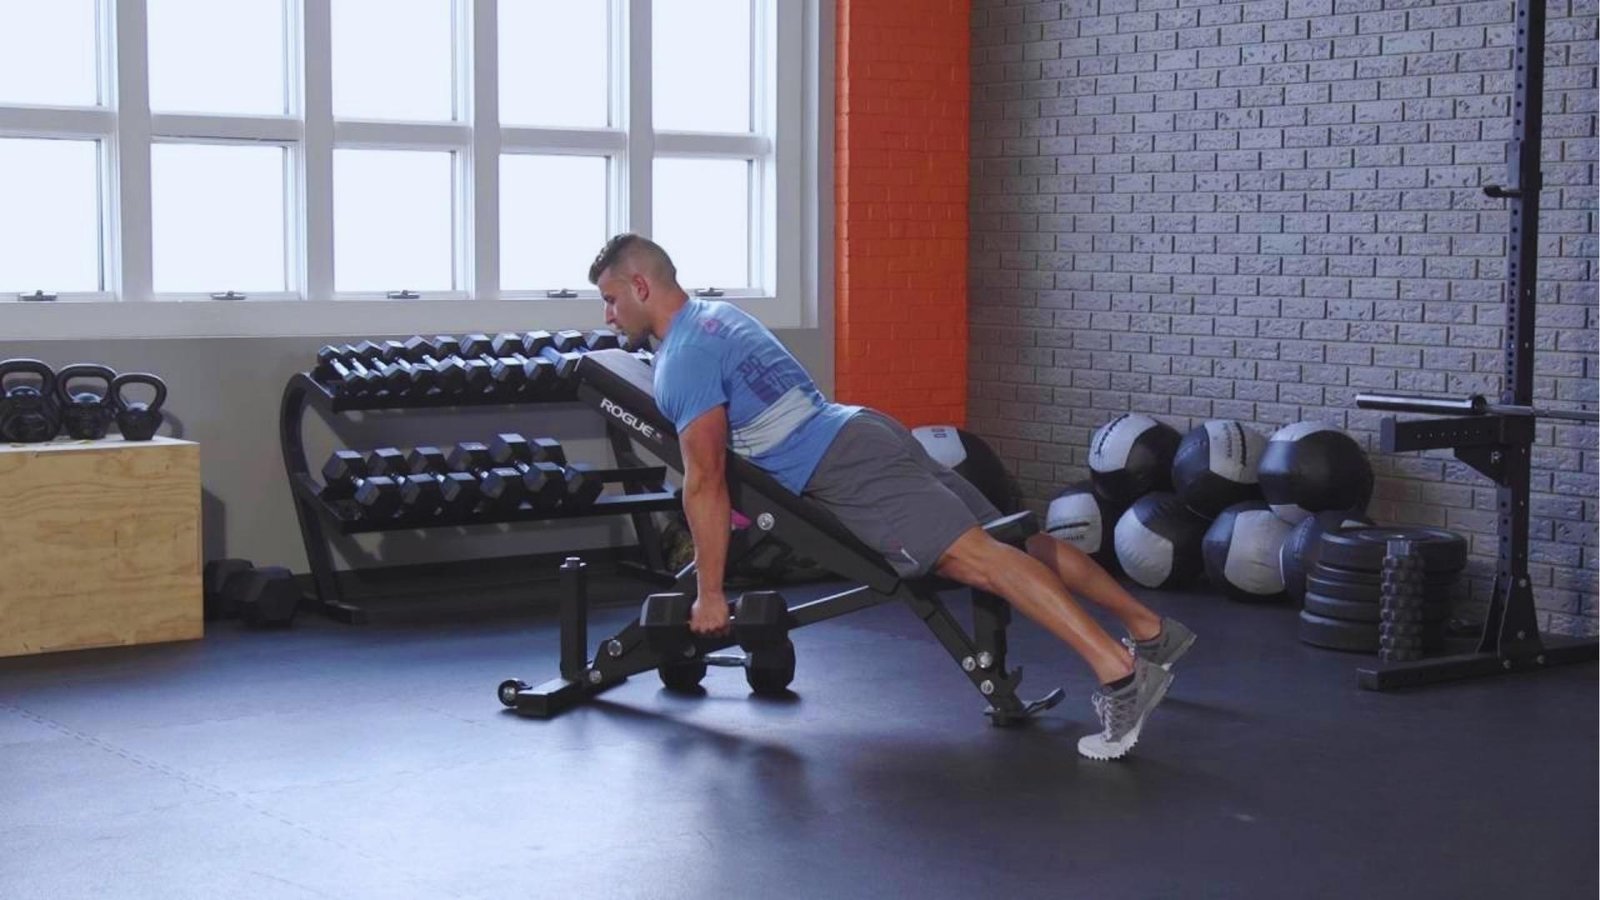
The chest support row, also called the incline dumbbell row, is a rowing exercise where your chest rests against an incline bench while you pull weights toward your torso.
The bench supports your body completely, so you can focus entirely on your back without worrying about balance or holding your position.
Most rowing exercises require your lower back and core to stabilize your torso, which pulls energy away from the muscles you actually want to train.
The chest support row removes that demand, giving you a cleaner contraction with less injury risk. This exercise works well for almost anyone.
Beginners build good rowing habits from the start, while intermediate and advanced lifters use it to isolate the back more directly.
It also suits people managing mild lower back strain who still want to train productively.
Chest Support Row Muscles Worked and Benefits
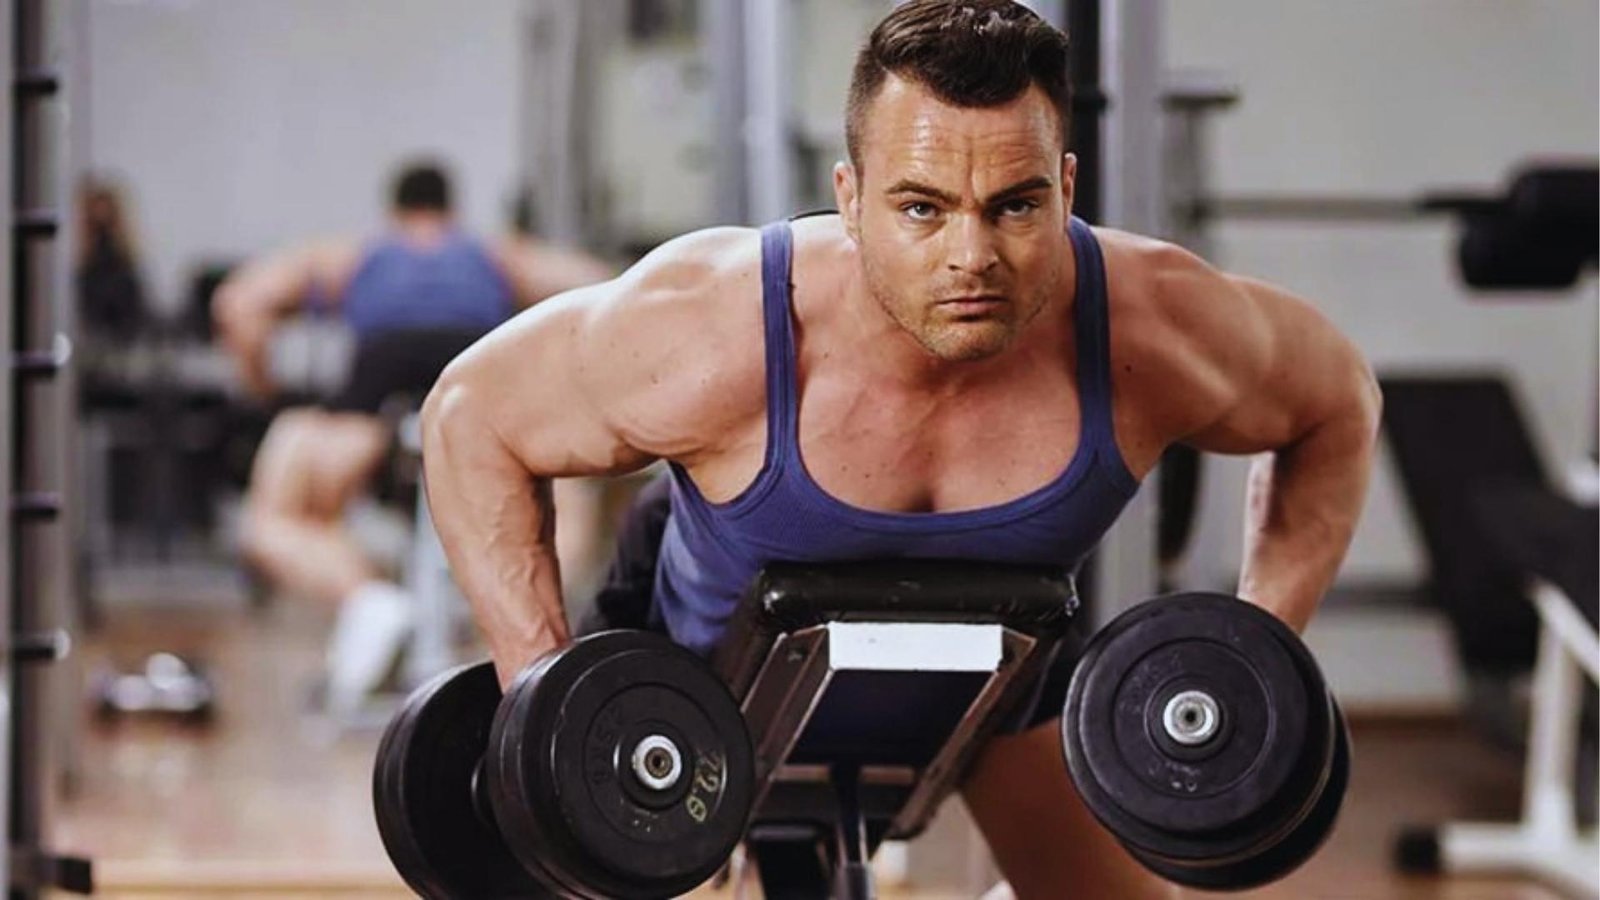
The chest support row trains your entire back in one movement while keeping your spine safe. It checks a lot of boxes for both muscle growth and long-term joint health.
Primary Muscles Targeted
The main muscles doing the work are
- Latissimus dorsi (the wide muscles on each side of your back)
- Rhomboids (between your shoulder blades)
- Middle and lower trapezius (the middle portion of your trap muscles)
These muscles drive the pulling motion and control the weight as you lower it back down.
Secondary Muscles Involved
Supporting muscles include the rear deltoids, biceps, brachialis, and brachioradialis. Your rotator cuff muscles also work to keep the shoulder joint stable throughout the movement.
Your core stays lightly engaged even with bench support.
Why the Chest Support Row Is Effective for Building Back Strength
Because you can't swing or use momentum, your back muscles have to produce every bit of force. That direct tension leads to more muscle fiber recruitment.
The supported position also makes it easier to feel your back working with each rep, which improves your mind-muscle connection over time.
Over time, this builds thickness in the mid-back and improves posture by strengthening the muscles that pull your shoulders back.
The stable setup also makes it easier to apply progressive overload, adding weight in small steps without your form breaking down.
How It Helps Reduce Lower Back Stress
When you do bent-over rows, your spinal erectors work overtime to hold your hinge position. That limits how hard your back muscles can actually work.
The chest support row takes the spinal erectors out of the equation. You can train longer, lift more consistently, and reduce wear on your lower back across your training career.
How to Do the Chest Support Row with Proper Form
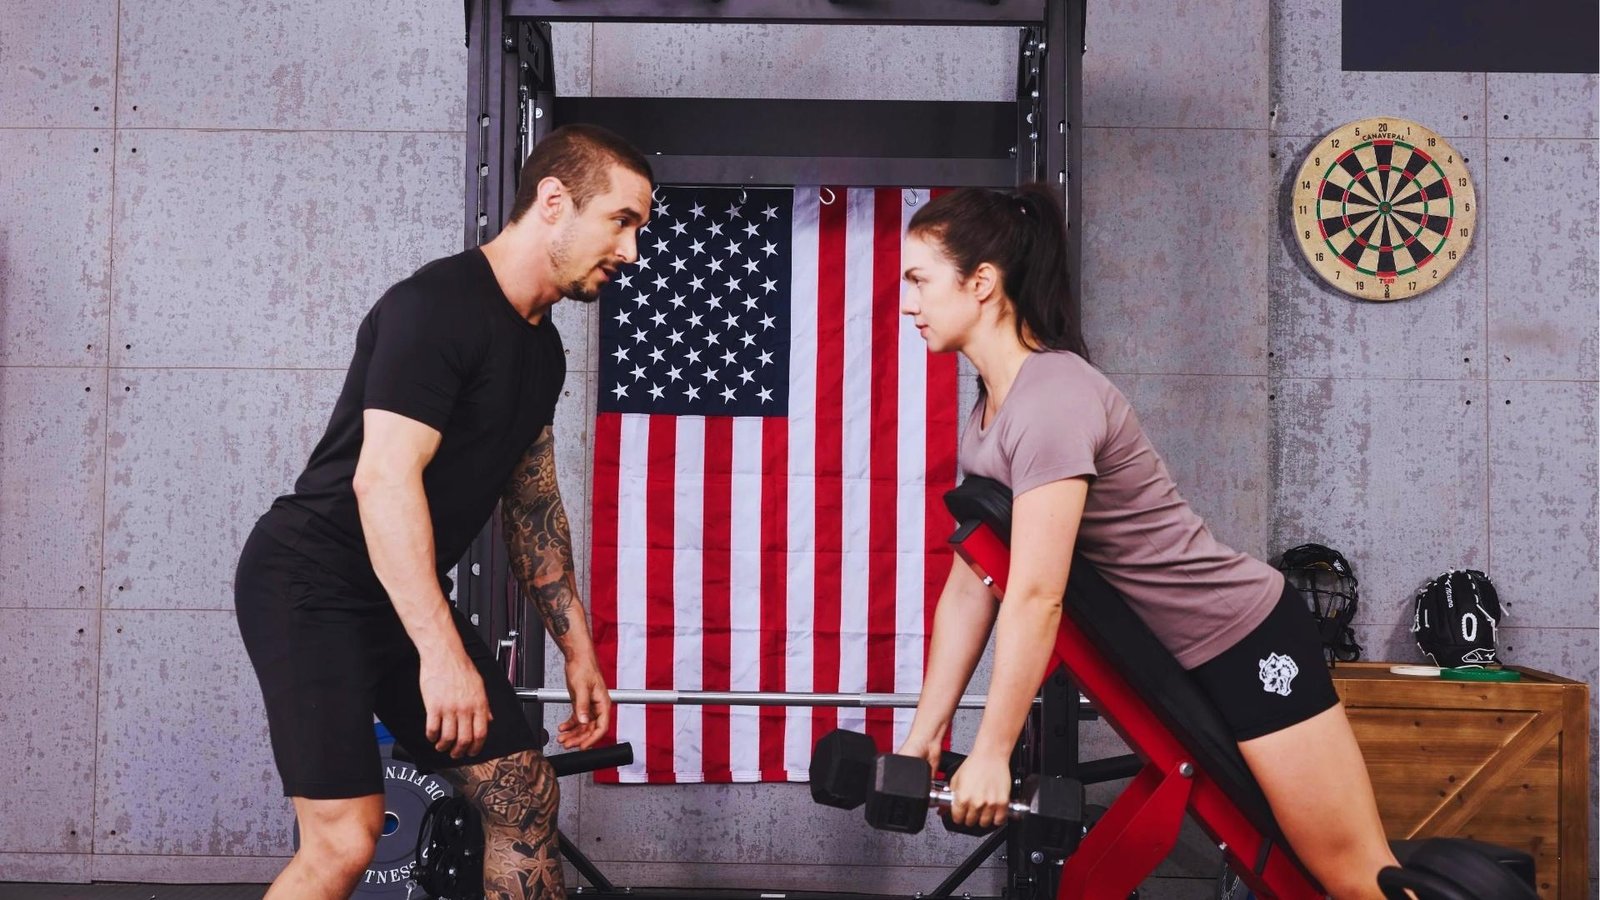
Getting the setup right makes a big difference in how well this exercise works. A few small adjustments can change everything about how it feels.
Equipment and Bench Setup
You need an adjustable incline bench and either dumbbells, a barbell, or a cable machine. Set the bench so it's stable and won't slide.
Make sure the pad hits your mid-chest, not your stomach or neck. Your feet should rest flat on the floor or on a foot peg if the bench has one.
Choosing the Best Bench Angle
A 30 to 45-degree incline works best for most people. A lower angle around 30 degrees keeps your torso more horizontal and increases lat involvement while reducing the tendency to shrug.
A steeper angle shifts more of the work to your upper traps and rear delts. Start around 30 to 45 degrees and adjust based on where you feel the most tension.
Step-by-Step Chest Support Row Technique
- Set the bench to your preferred angle and place dumbbells on the floor in front of it.
- Lie face-down against the pad with your chest centered and your arms hanging straight down.
- Give your hips a slight posterior tuck and engage your core before picking up the weights.
- Grip the dumbbells with a neutral or overhand grip.
- Pull both dumbbells toward your hips or lower ribs by driving your elbows back.
- Squeeze your shoulder blades together at the top.
- Lower the weights slowly and with control until your arms are fully extended.
- Repeat for your chosen number of reps.
Breathing, Tempo, and Range of Motion
Exhale as you pull the weights up. Inhale as you lower them. A controlled tempo of 2 seconds up, 1 second pause, 2 seconds down works well for muscle growth.
Always use a full range of motion. Let your arms extend completely at the bottom so your lats stretch before each rep.
Chest Support Row Variations
Once you've got the basic movement down, these variations let you adjust the stimulus and keep your training fresh.
Chest-Supported Dumbbell Row
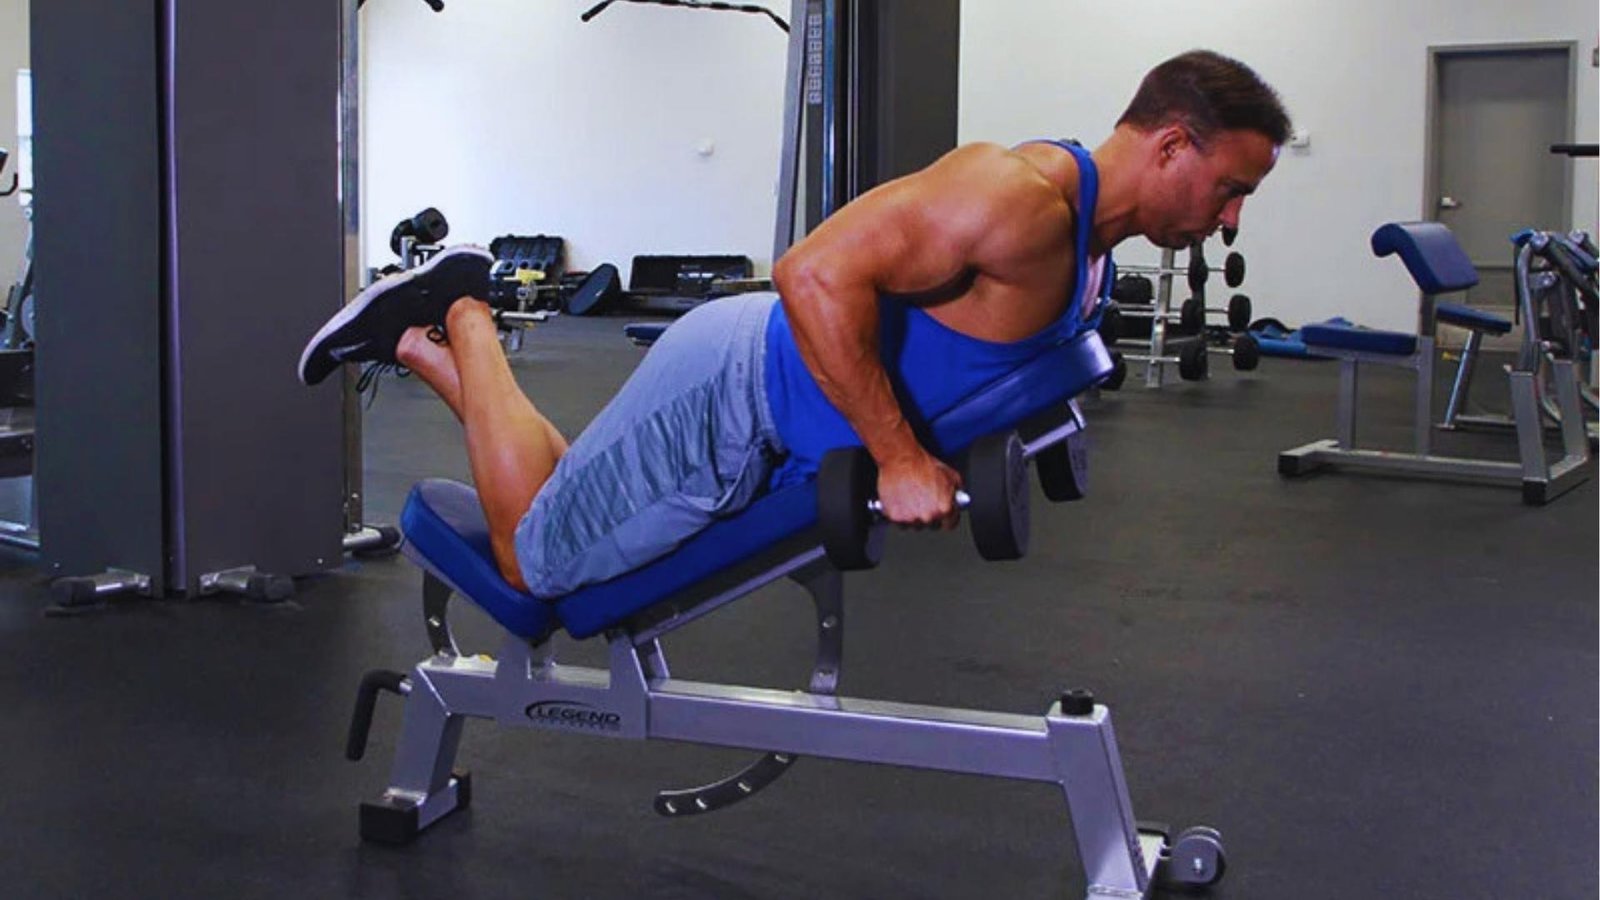
This is the most common version. Dumbbells let each arm move independently, which helps fix strength imbalances between your left and right side.
You can use a neutral grip (palms facing each other), a pronated grip (palms facing down), or a supinated grip (palms facing up).
The supinated grip places more load on the biceps, while the pronated grip targets the lats and upper back more directly.
Chest-Supported Machine Row
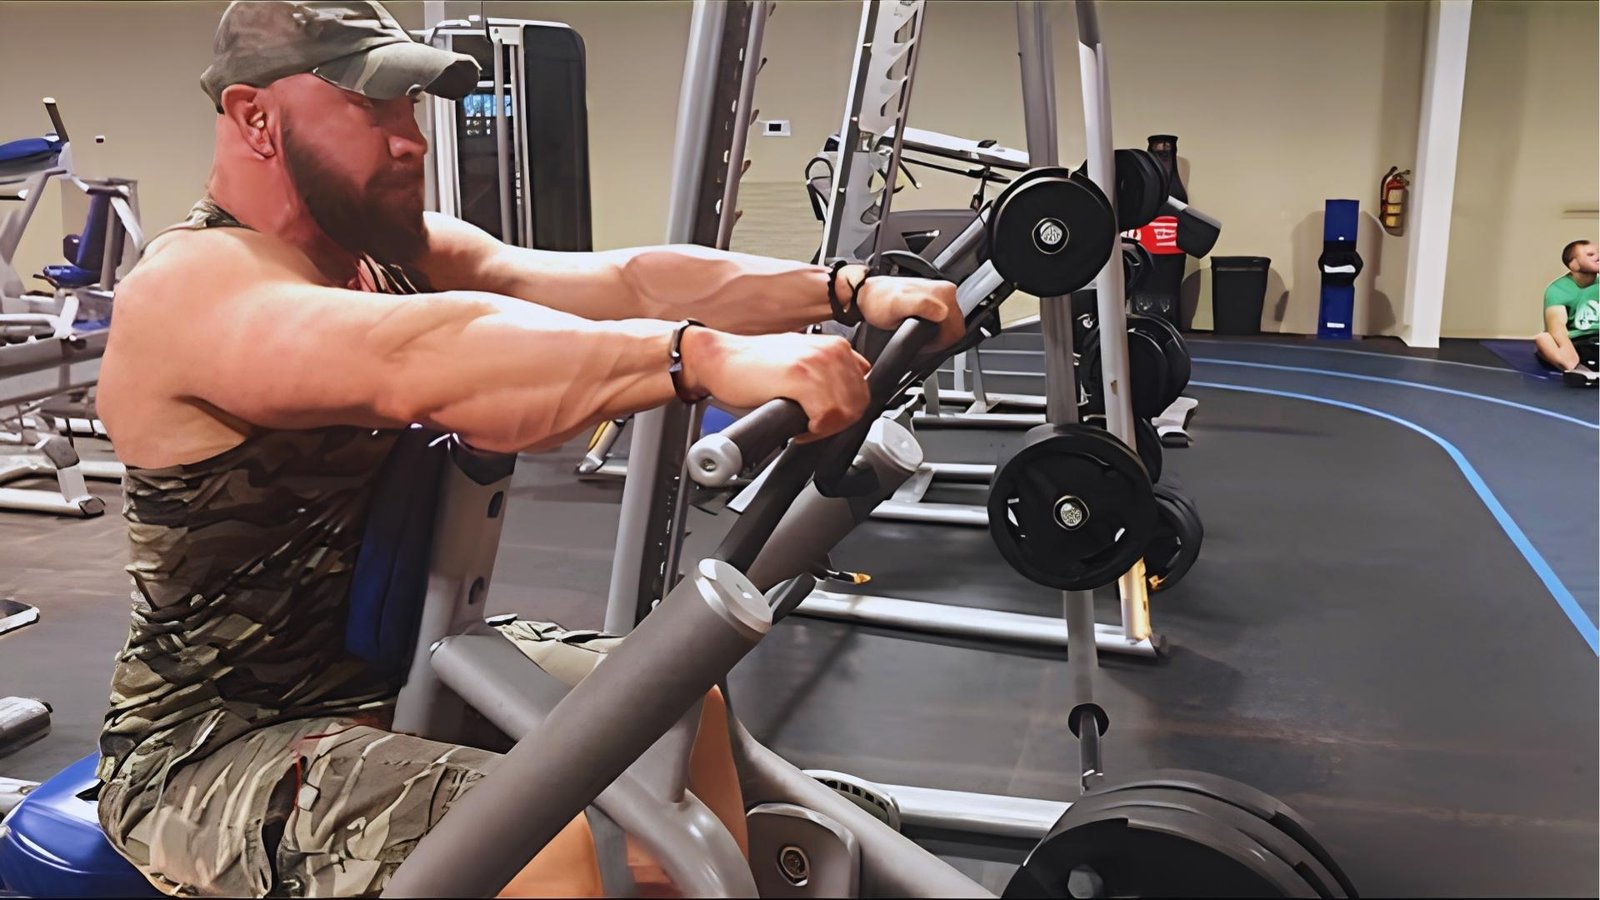
Many gyms have a chest-supported row machine. The fixed path of motion makes it easier to focus on squeezing the back without worrying about balance.
This version is great for beginners or at the end of a workout when your stabilizers are already tired.
Single-Arm Chest Support Row
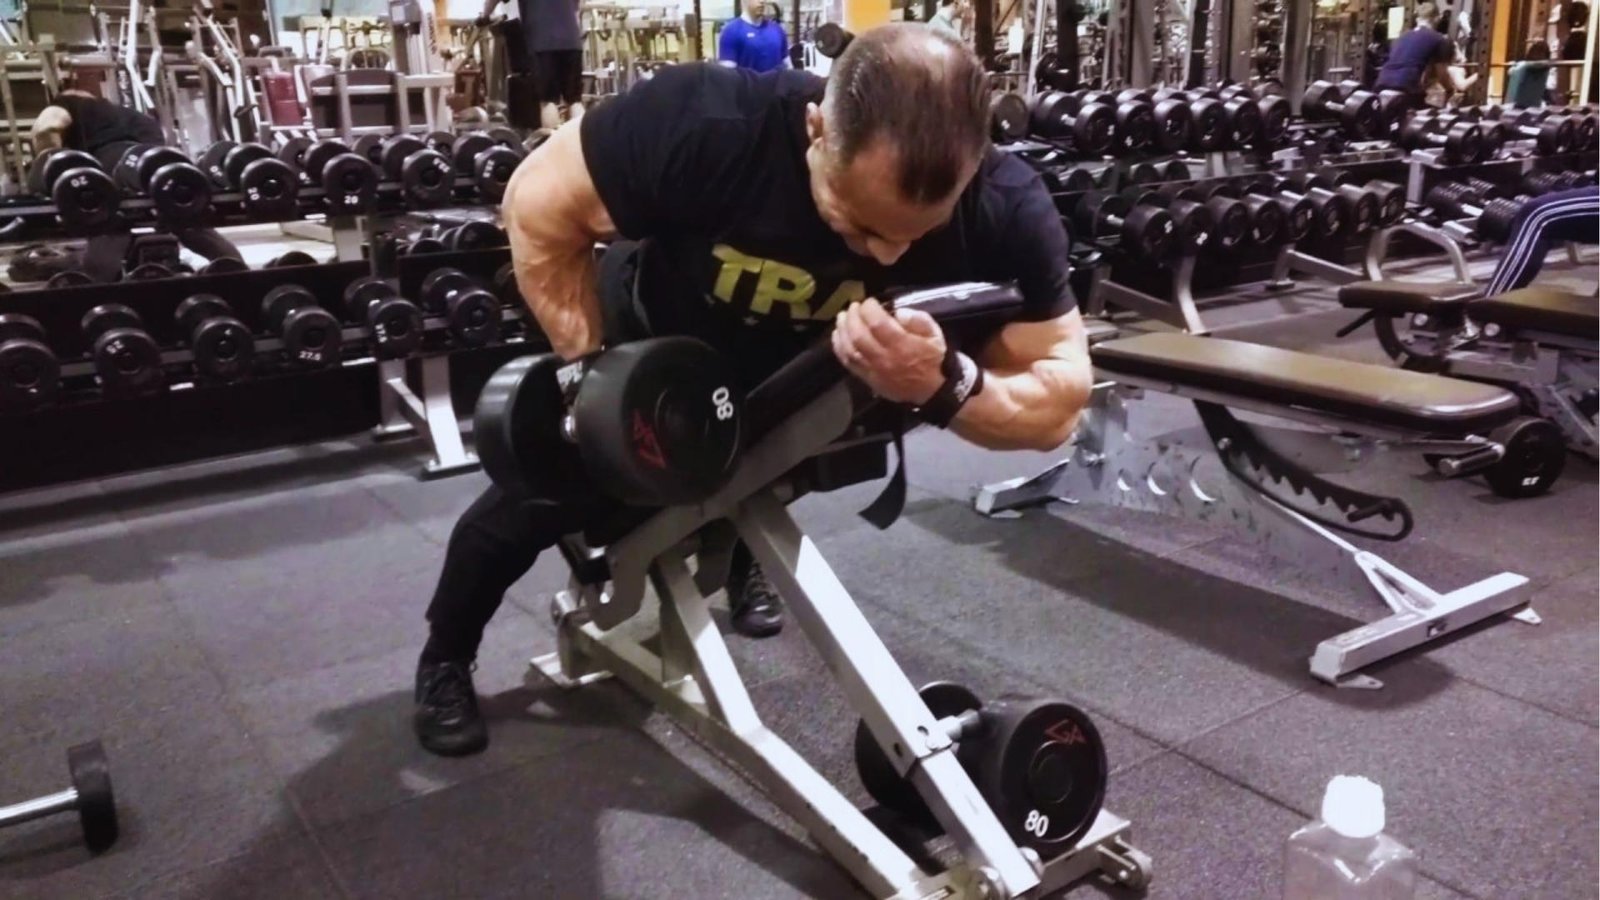
Doing one arm at a time allows a greater range of motion and better mind-muscle connection. Rest your free hand on the bench for support.
This version is also useful for identifying and correcting side-to-side strength differences.
Chest Support Row vs Other Back Exercises
Knowing how this exercise compares to others helps you make smarter programming decisions for your specific goals.
Chest Support Row vs Bent-Over Row
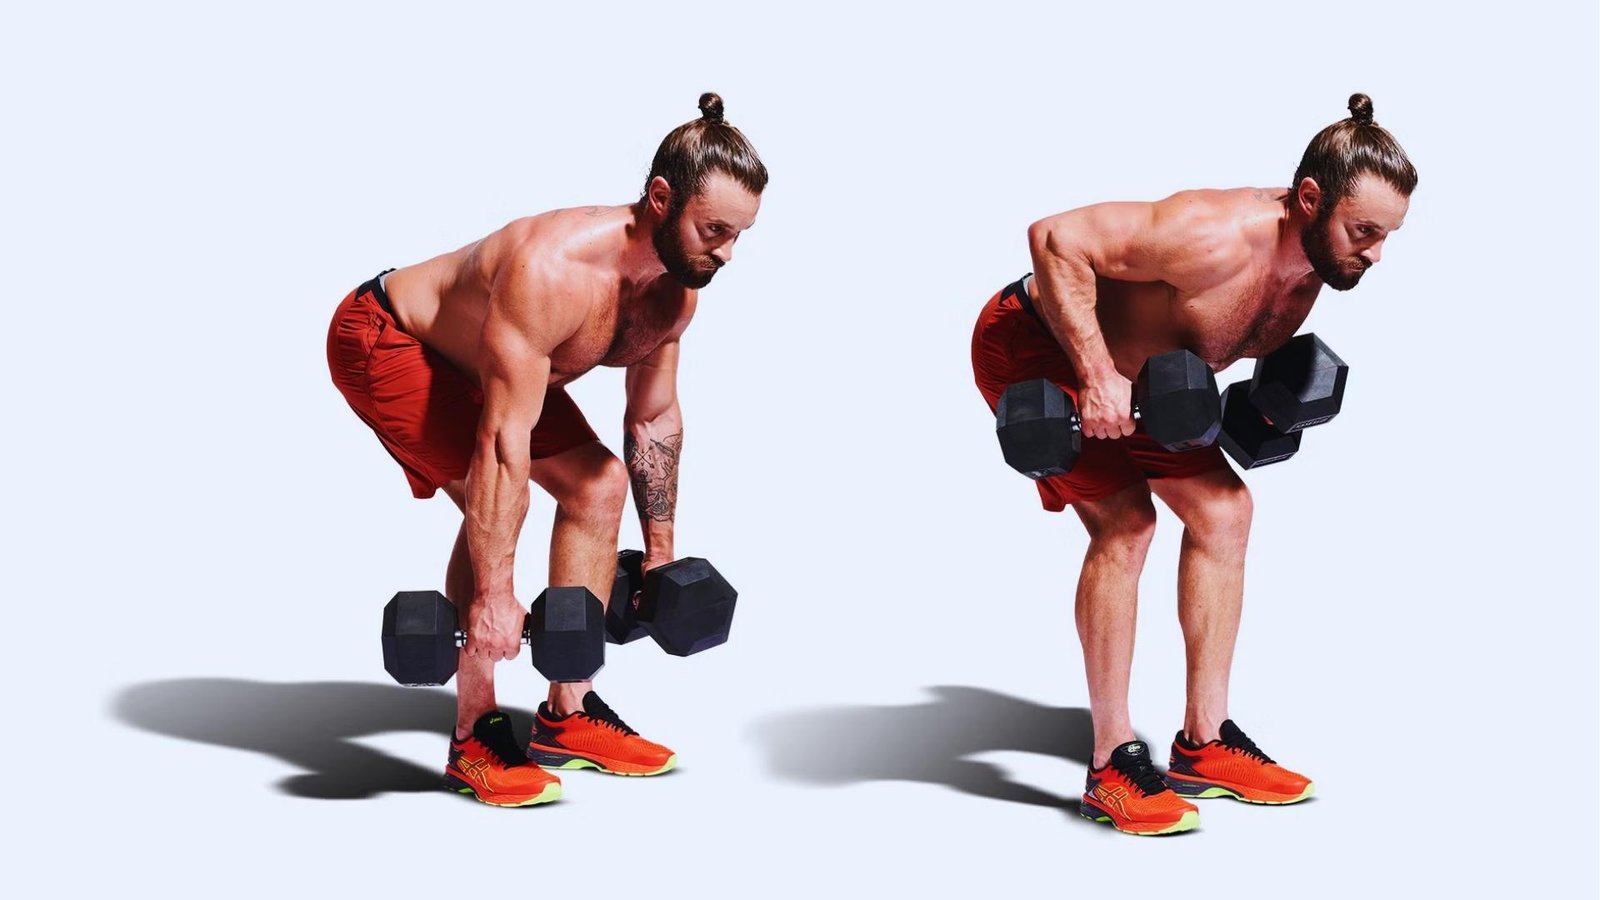
The bent-over row lets you load more weight, but your lower back limits how long you can train productively.
The chest support row removes spinal loading almost entirely, so you can push your back harder for more reps without fatigue becoming a safety issue.
The supported position also lets you safely train closer to muscle failure without risking injury.
Chest Support Row vs Seated Cable Row
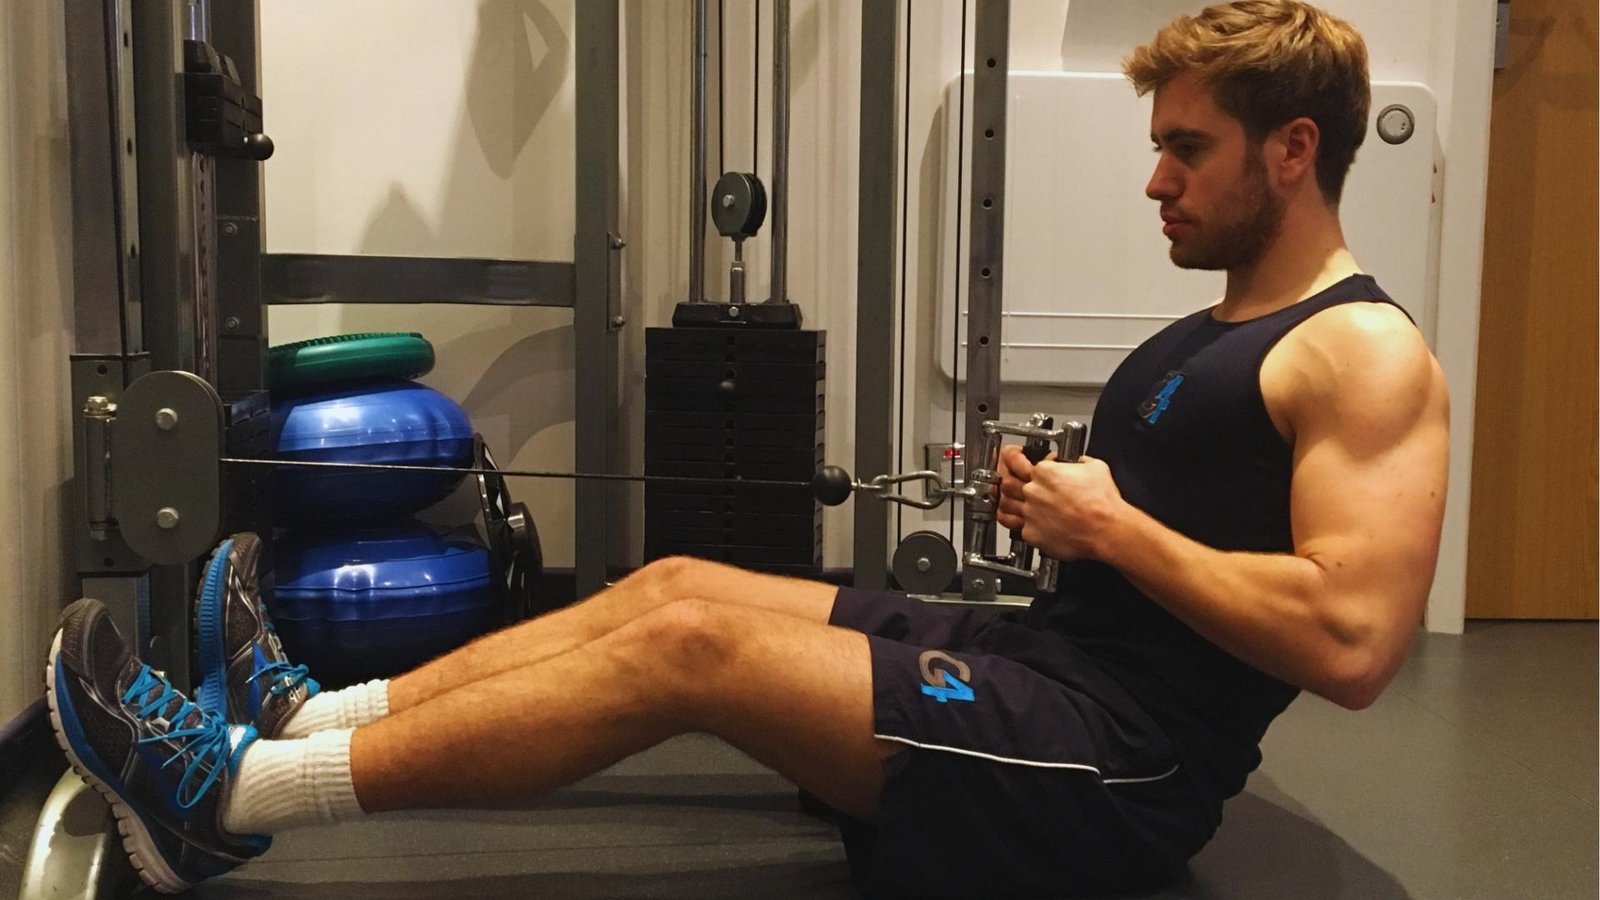
Seated cable rows provide constant tension through the whole movement. The chest support row offers a stronger stretch at the bottom and relies more on free-weight control.
Both are good. The chest support row wins for isolation, cables win for tension consistency.
Chest Support Row vs T-Bar Row
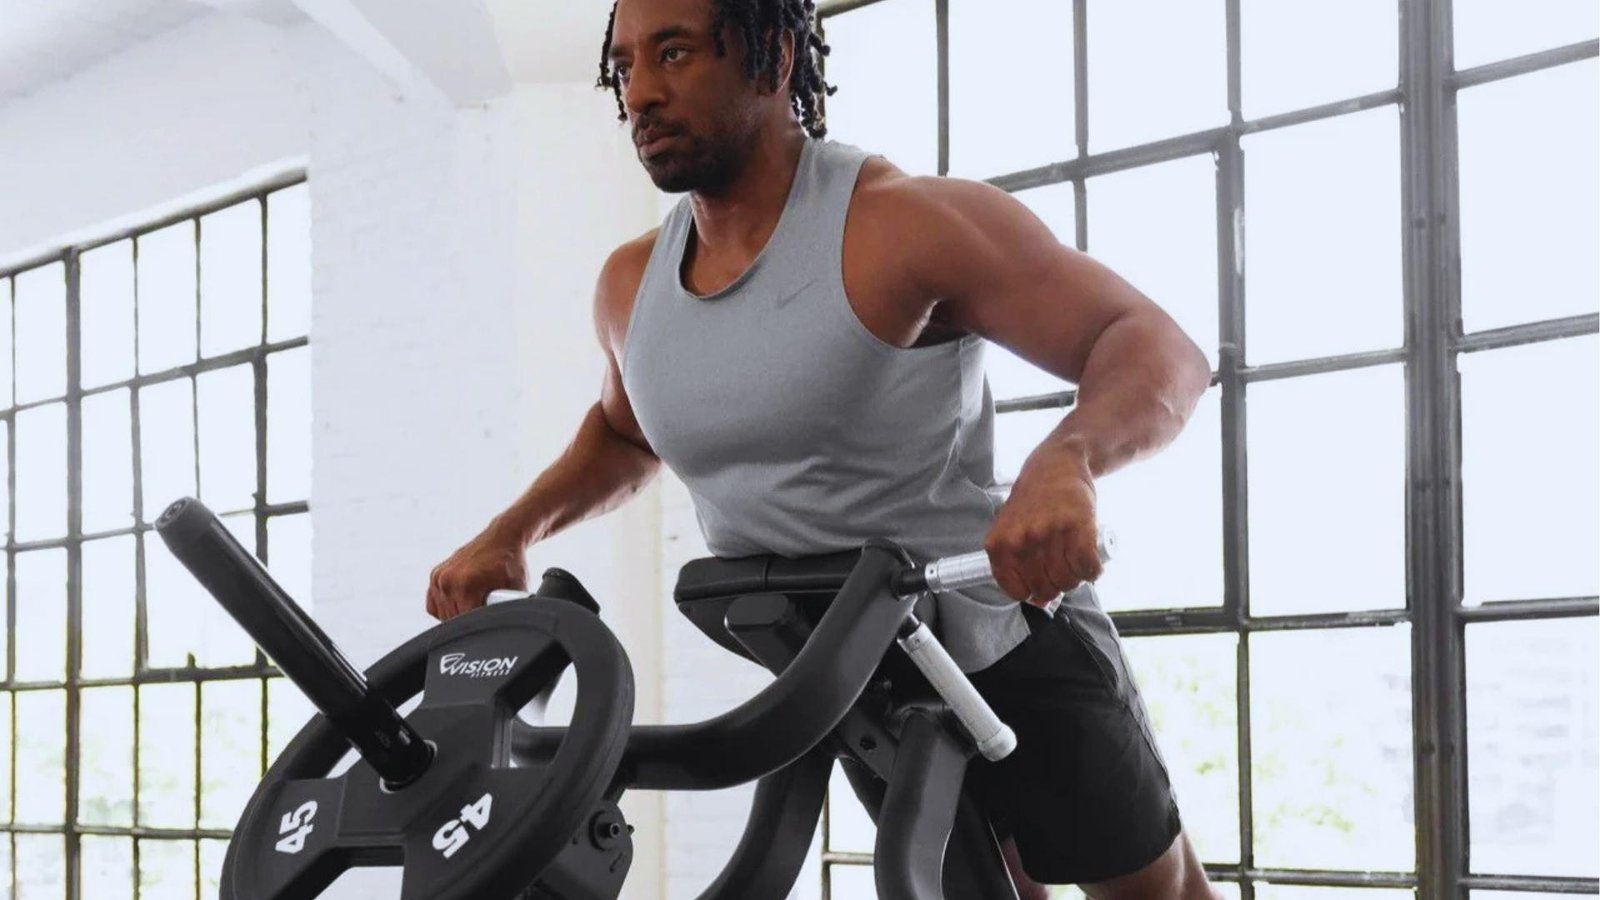
T-bar rows allow heavy loading and are great for building overall back mass. However, they still require some lower back involvement.
The chest support row beats the T-bar row for people with lower back issues or those who want a pure back isolation exercise.
Which Rowing Exercise Is Best for Your Training Goals?
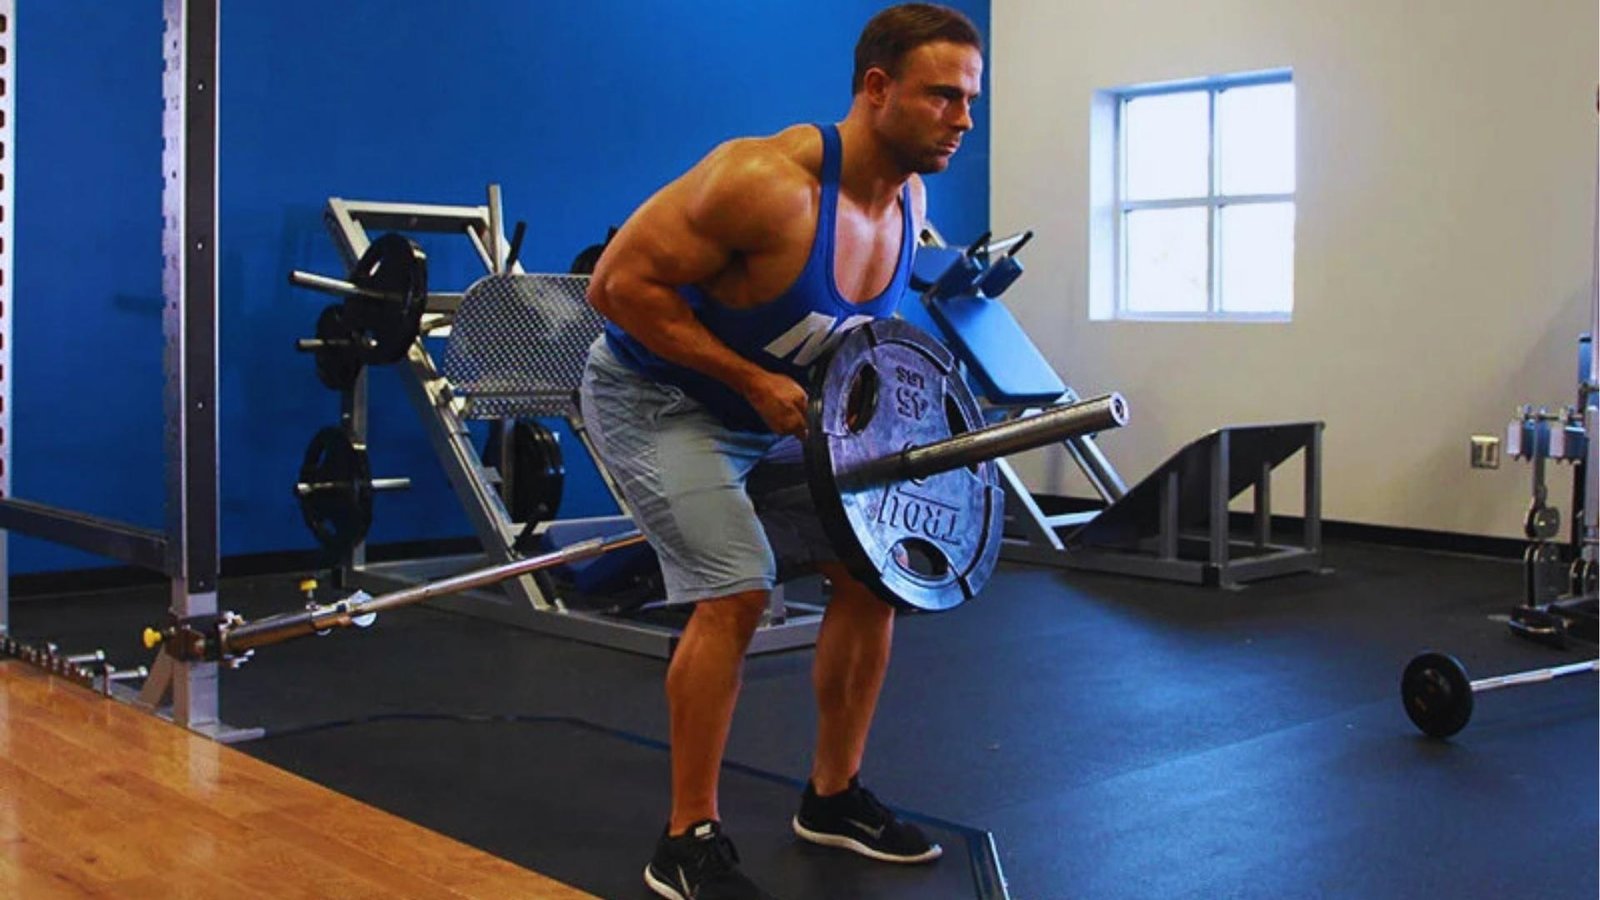
If you want maximum strength and don't mind the spinal load, bent-over and T-bar rows are solid choices.
If your goal is back hypertrophy with less injury risk, the chest support row is one of the best options available. Many lifters do both in the same program.
Common Chest Support Row Mistakes and How to Fix Them
Small form errors can quietly reduce your results or lead to injury over time. These are the most frequent ones and how to correct each.
Using More Weight than You Can Control
Going too heavy leads to sloppy reps that train momentum more than muscle. Drop the weight until you can perform clean reps through a full range of motion.
Your back should be doing the work, not your arms and body English.
Losing Contact with the Bench
If your chest keeps lifting off the pad, you're likely using too much weight or pulling at the wrong angle. Keep your chest pinned to the bench throughout every rep. If you can't, reduce the load.
Pulling with the Arms Instead of the Back
Many people row by bending the elbow first. Instead, think about driving your elbows back and squeezing your shoulder blades together.
The arms are just hooks. Initiate every rep with your back, not your biceps.
Shrugging the Shoulders During Each Rep
Shrugging brings your upper traps into the movement and reduces tension on the mid-back. Keep your shoulders down and back throughout the set.
Focus on the squeeze between your shoulder blades at the top of each rep.
Overarching the Back
Some thoracic extension at the top of the pull is normal and natural. What you want to avoid is arching your whole back off the bench on every rep.
Keep your hips tucked and your torso still. The movement should come from your arms and shoulder blades, not your spine.
Shortening the Range of Motion
Half reps build half results. Let the weights hang at full arm extension at the bottom. Feel the stretch in your lats before pulling.
A complete range of motion recruits more muscle fibers and improves flexibility over time.
Tips to Get Better Back Gains with the Chest Support Row
These strategies help you get more out of every set and make steady progress over time.
- A neutral grip targets the lower lats while a pronated grip hits the upper back and rear delts more. A supinated grip shifts more focus to the biceps. Rotate between all three over time to train your back from different angles.
- For muscle growth, do 3 to 4 sets of 8 to 15 reps. For strength, go with 4 to 5 sets of 4 to 6 reps. Rest 90 seconds to 3 minutes between sets. Add an isometric hold at the top for extra time under tension.
- Add weight in small jumps, no more than 5 pounds at a time. You can also add reps first before increasing the load. Clean reps over months beat heavy sloppy ones every time.
- Place the chest support row on your pull day or back day, ideally after a heavier compound lift like a deadlift or pull-up. It also works as the main move on a lighter volume-focused back day.
- Only increase the weight when you can hit all reps with good form across two straight sessions. One easy set isn't enough. Consistent clean performance confirms you're ready to go heavier.
Conclusion
The chest support row is one of the most effective tools for building a stronger, thicker back without putting unnecessary stress on your spine.
It keeps the tension where it belongs, on your back muscles, and removes the guesswork from your form. Start with a moderate weight, focus on the squeeze, and build from there.
Apply what you've learned here and you'll likely notice a real difference in how your back responds.
Have a question or a tip from your own training? Drop it in the comments or share this with someone who wants better back gains.
Frequently Asked Questions
Can I do the chest support row if I have a shoulder injury?
It depends on the injury type. Always consult a physiotherapist first. Some shoulder conditions improve with controlled rows, others may worsen with certain grip positions.
How often should I train the chest support row each week?
Training it once or twice per week is enough for most people. Allow at least 48 hours of recovery between sessions targeting the same muscle groups.
Is the chest support row safe for older adults?
Yes, it is generally safe. The bench support reduces spinal strain, making it a good option for older adults who need to limit lower back loading during pulling exercises.
What is a good starting weight for beginners doing the chest support row?
Start with light dumbbells, around 10 to 15 pounds each. Focus on feeling the back muscles work before adding any additional load to the movement.
Should I use straps for the chest support row?
Straps help when grip strength limits your back training. Use them selectively, such as during heavier sets, so your grip strength still gets trained over time.