For a long time I thought something was wrong with my body.
I was working out. I was eating well. But my hips still had that inward curve I could not seem to change no matter what I did.
Turns out I was training the wrong muscles. Once I fixed that, everything started to shift.
Hip dips are normal. They are shaped by your bones, not your effort. But building the muscles around them is something you can control. And the right exercises make a visible difference over time.
This article covers the 11 best hip dip exercises to do at home, what they target, how to do each one correctly, and how to build a real weekly plan.
No gym needed. No equipment required. Just move that work.
What Is a Hip Dip Exercise?
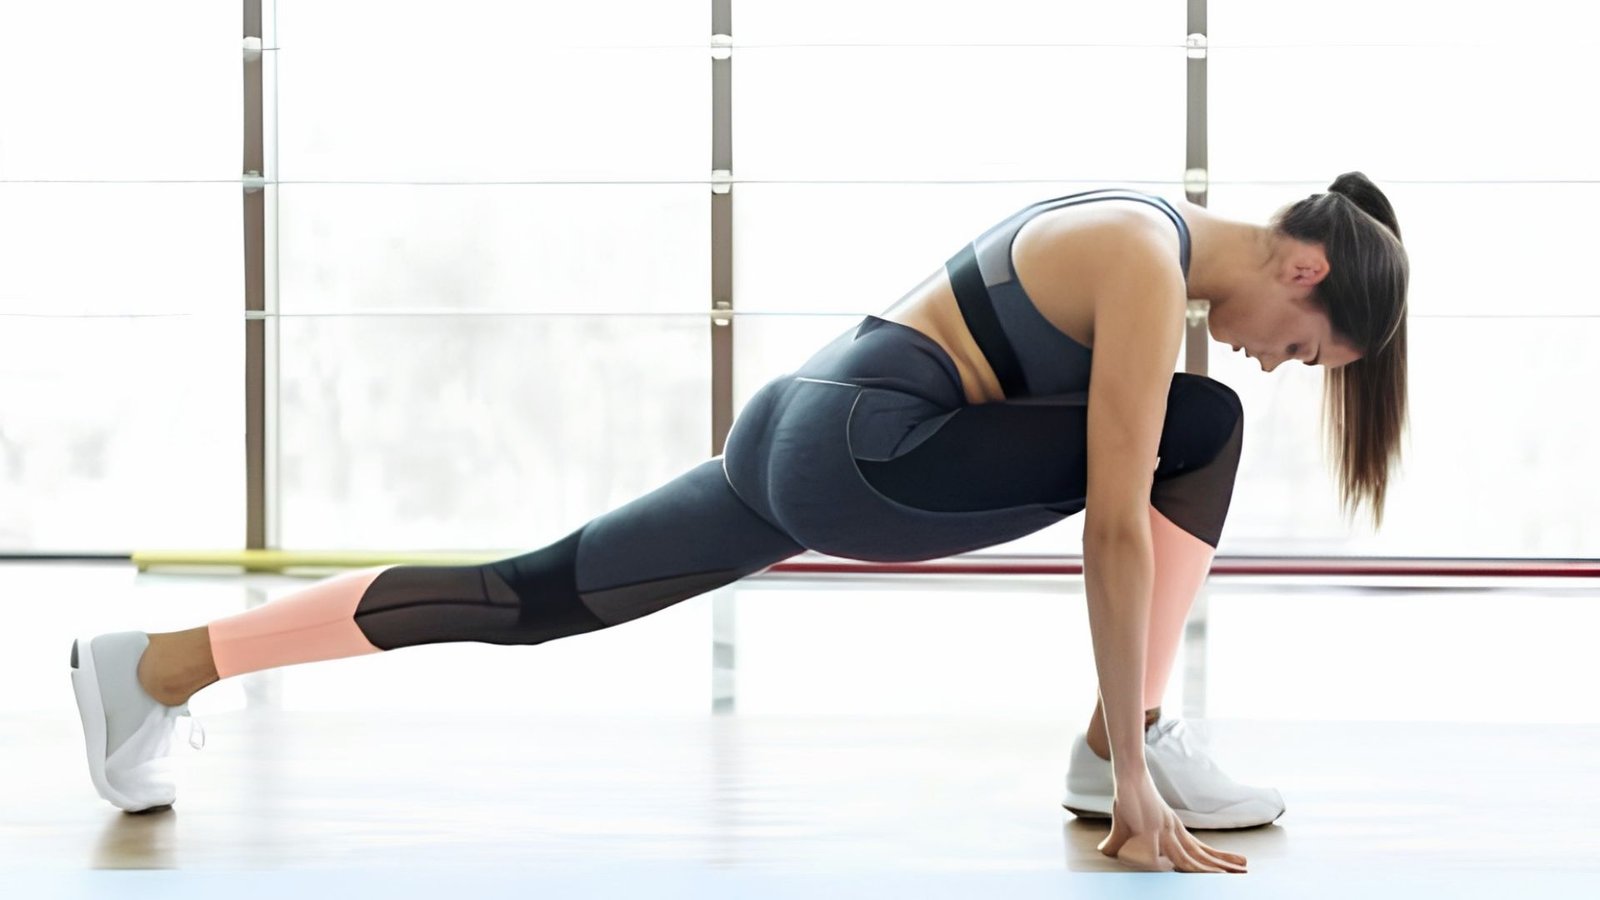
A hip dip exercise is any movement that targets the muscles around your hips, glutes, and outer thighs.
These exercises mainly work the gluteus medius, gluteus minimus, and hip abductors, the muscles that sit right where hip dips appear.Doing these exercises will not erase hip dips because they are shaped by your bone structure.
Hip dips, also called violin hips or trochanteric depressions, form just below the iliac crest, the top edge of your pelvis, and are a normal part of human anatomy.
But building the muscles in that area can soften how deep they look. Think of it as adding muscle volume where your body naturally has less.
Set realistic expectations: you will get stronger hips and a more toned lower body, but results take time and consistency.
5-Minute Warm-Up Before Hip Dip Exercises
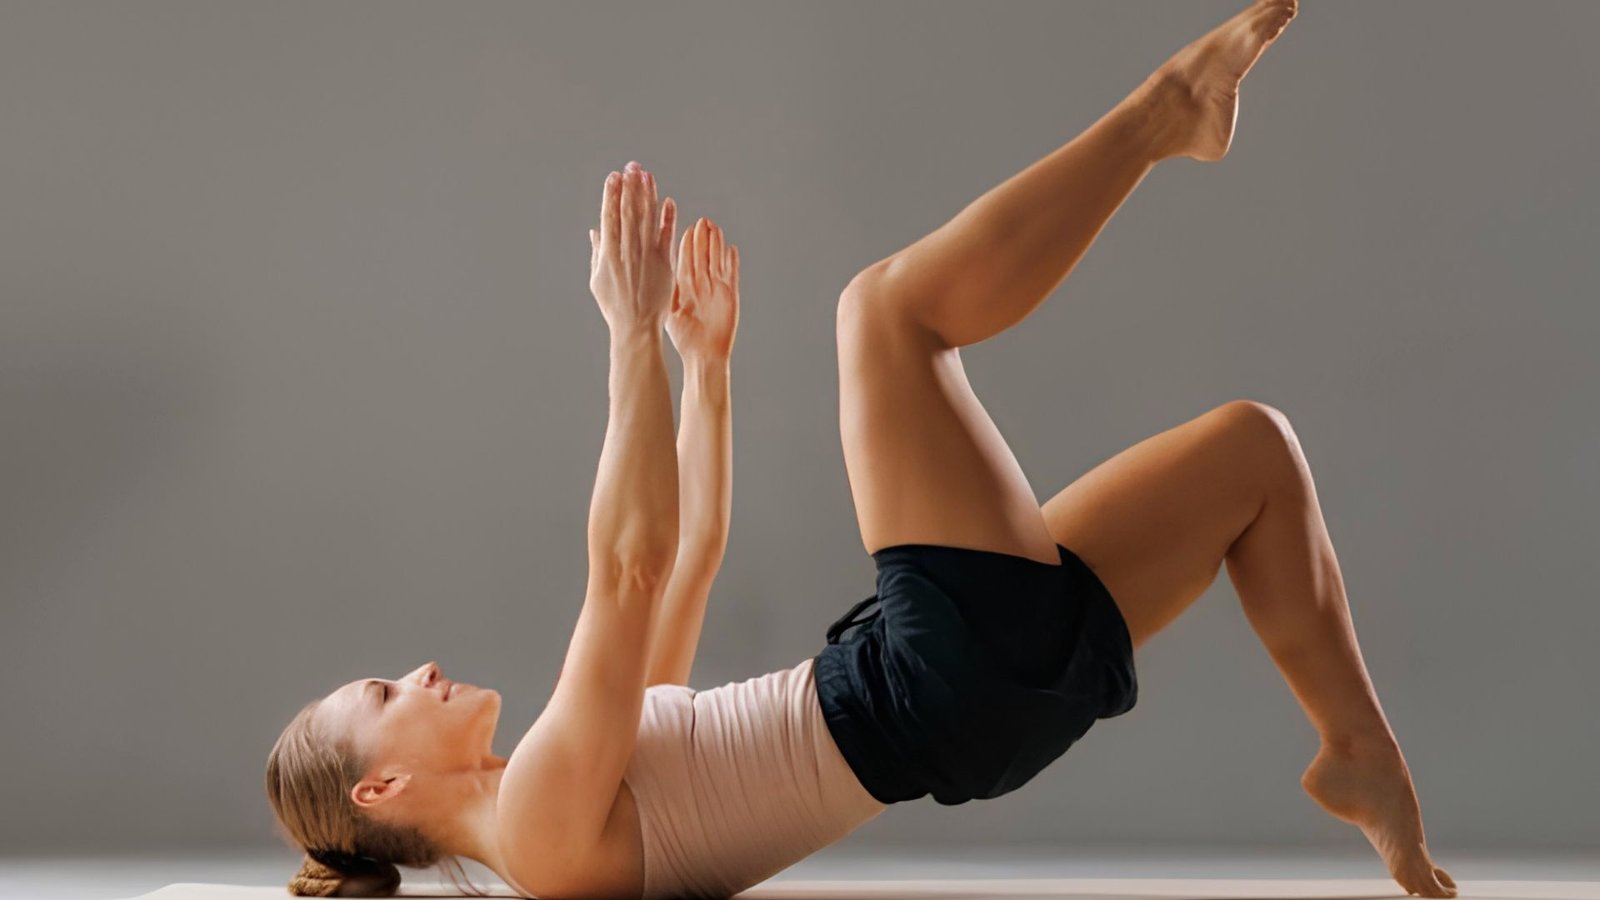
Never skip the warm-up. It prepares your joints and activates the right muscles.
- Hip circles:Stand with feet shoulder-width apart and rotate your hips slowly in a big circle. This loosens the hip joint and improves range of motion.
- Bodyweight squats:Do 10 slow squats to wake up your glutes and quads before heavier movements.
- Glute bridges: Lie on your back and press your hips up 10 times. This activates the glutes early so they fire correctly during the workout.
- Leg swings: Hold a wall and swing each leg forward and back 10 times. This opens the hip flexors and improves mobility.
- Standing lateral leg raises: Lift each leg out to the side 10 times. This targets the hip abductors and preps them for side-lying moves.
11 Best Hip Dip Exercises to Do at Home
These moves are beginner-friendly, effective, and require zero equipment. Pick them all or start with a few.
1. Fire Hydrants
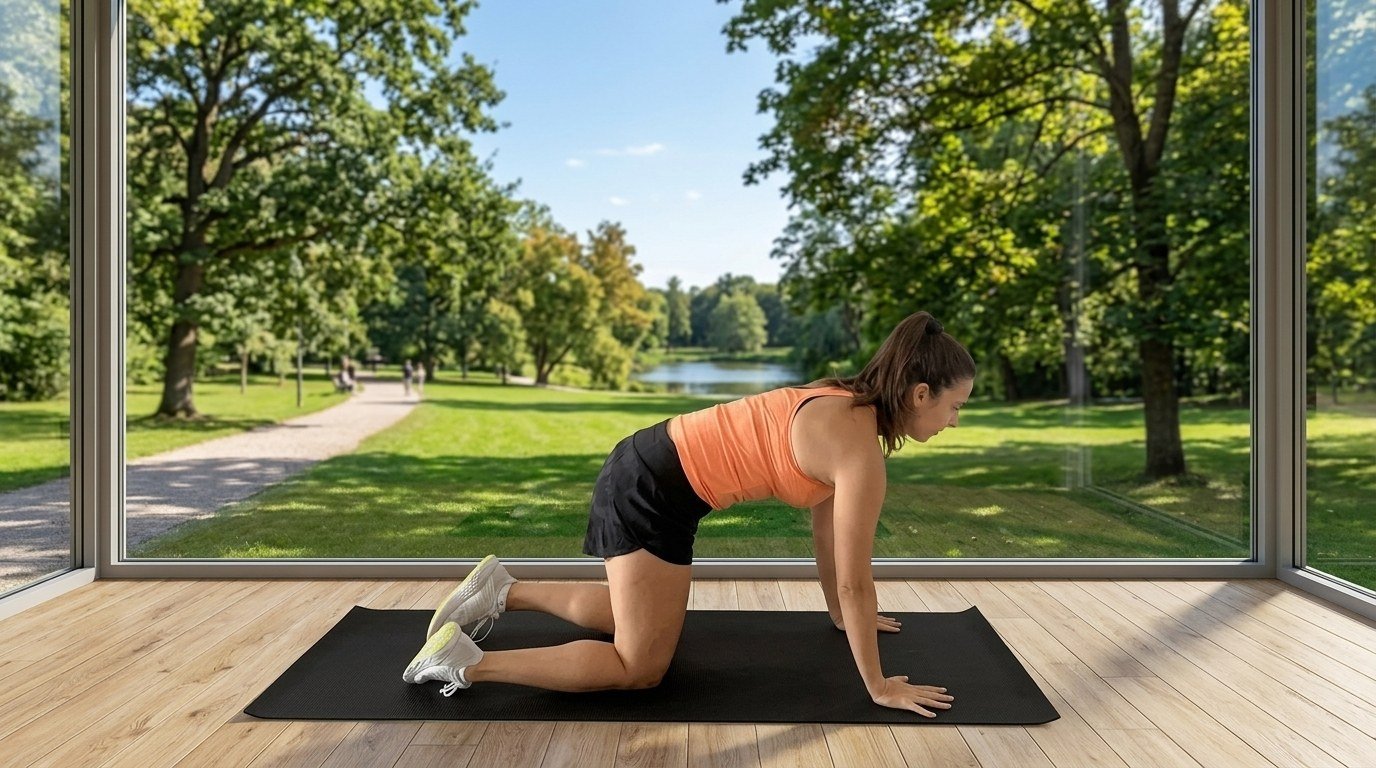
Fire hydrants are one of the best moves for building the gluteus medius, the muscle that fills in hip dips.
This exercise works well for beginners and anyone who wants better hip stability.
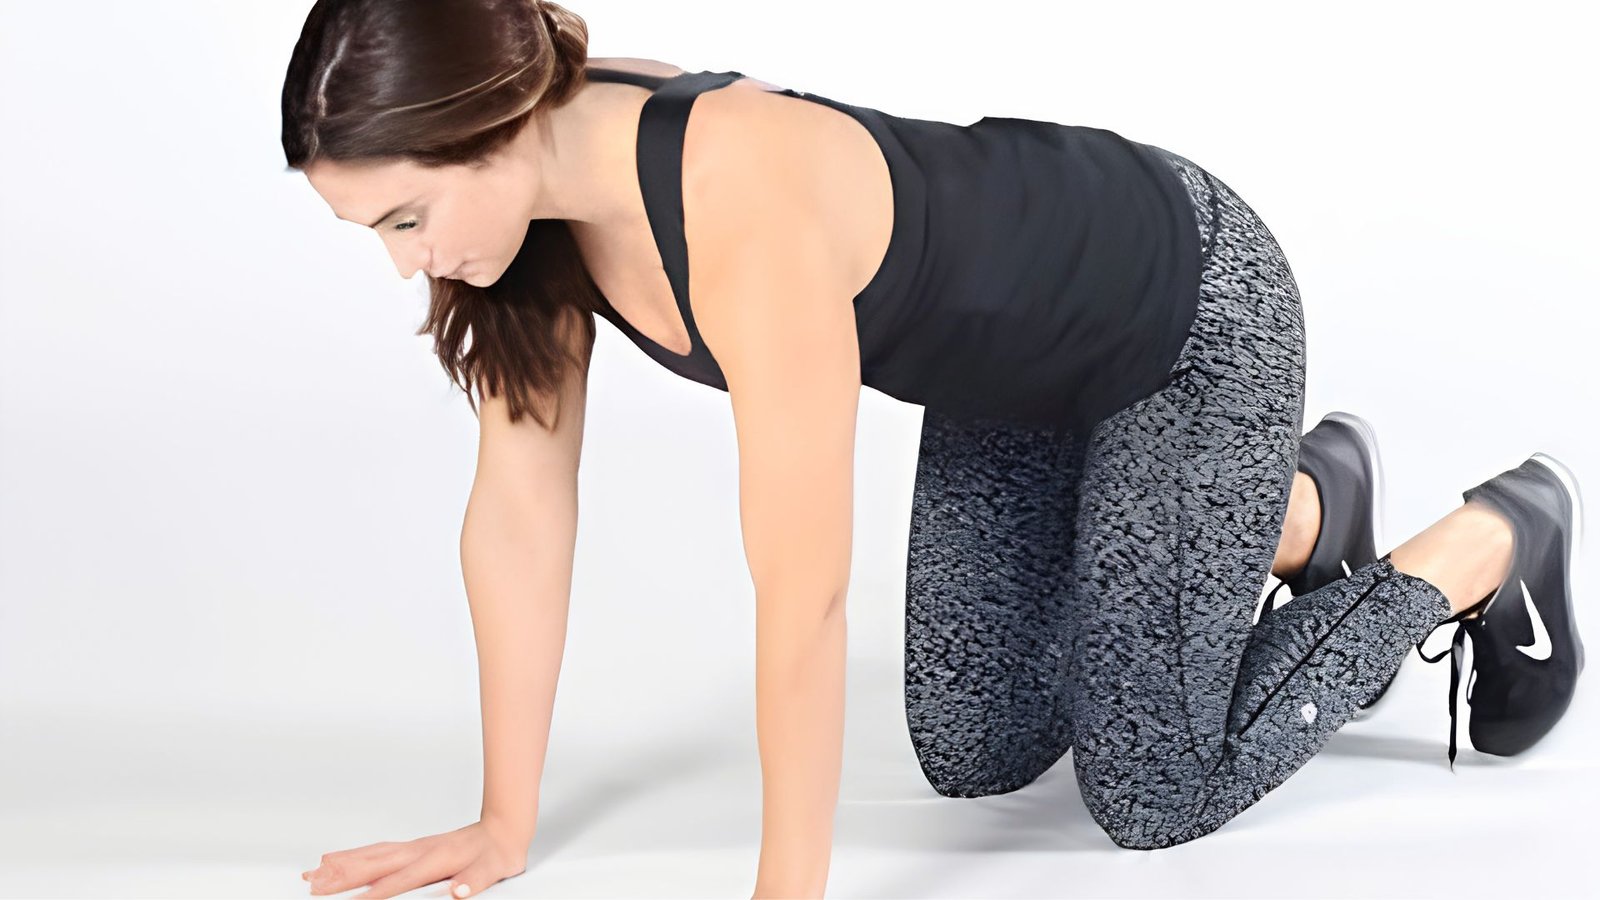
Start on all fours with your wrists under your shoulders and knees under your hips. Keeping your knee bent at 90 degrees, lift one leg out to the side like a dog at a fire hydrant.
Squeeze at the top, then lower slowly. Avoid rotating your hips or lifting them up as you raise your leg. That is the most common mistake. Do 3 sets of 12 to 15 reps per side.
2. Side-Lying Leg Raises
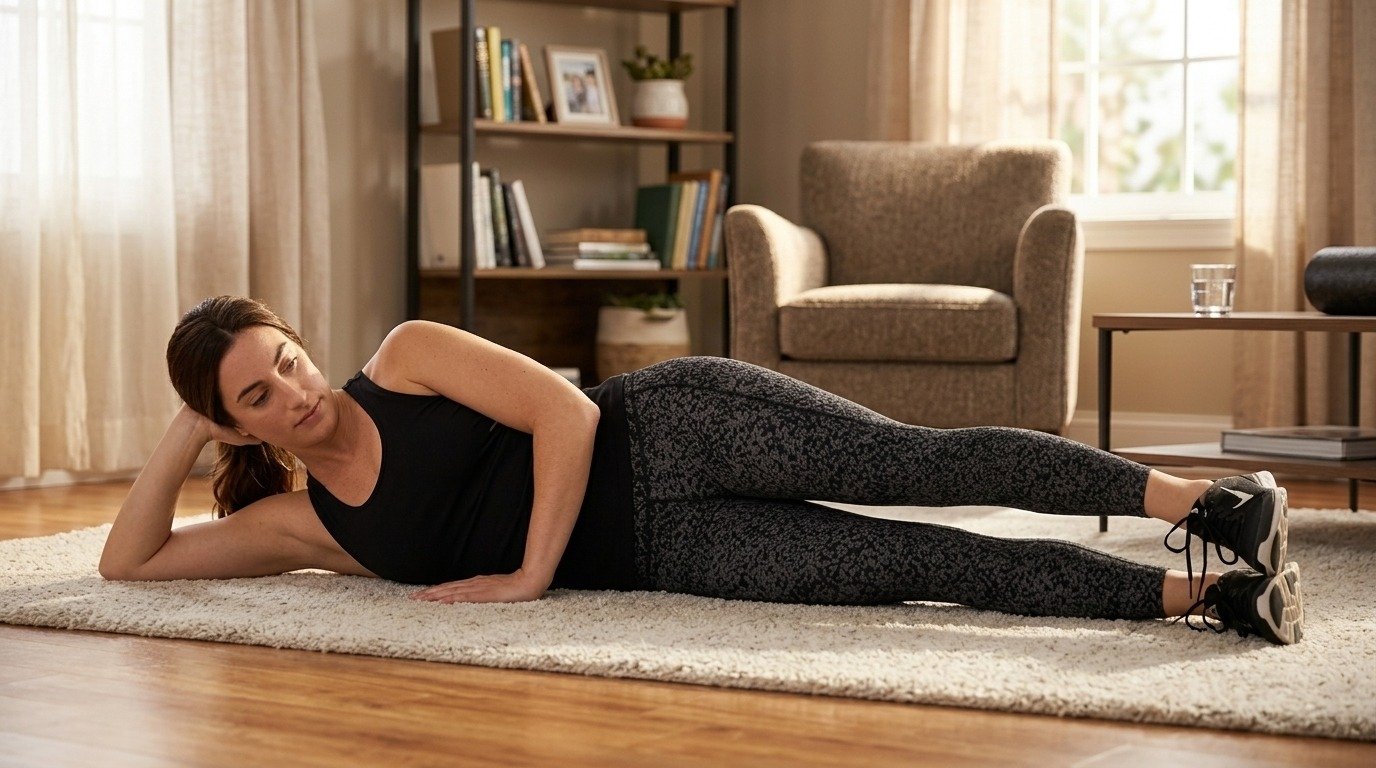
This move directly targets the outer hip muscles, specifically the gluteus medius and the tensor fasciae latae, that create the appearance of fuller hips.
Lie on your side with your legs stacked and your body in a straight line. Slowly raise the top leg up to about 45 degrees, hold for a second, then lower it back down.
Keep your foot flexed and your core tight throughout. Do not let your hips roll forward or backward, as that shifts the work away from the outer hip.
Move slowly and with control. Do 3 sets of 15 reps per side. Add an ankle weight when it gets too easy.
3. Clamshells
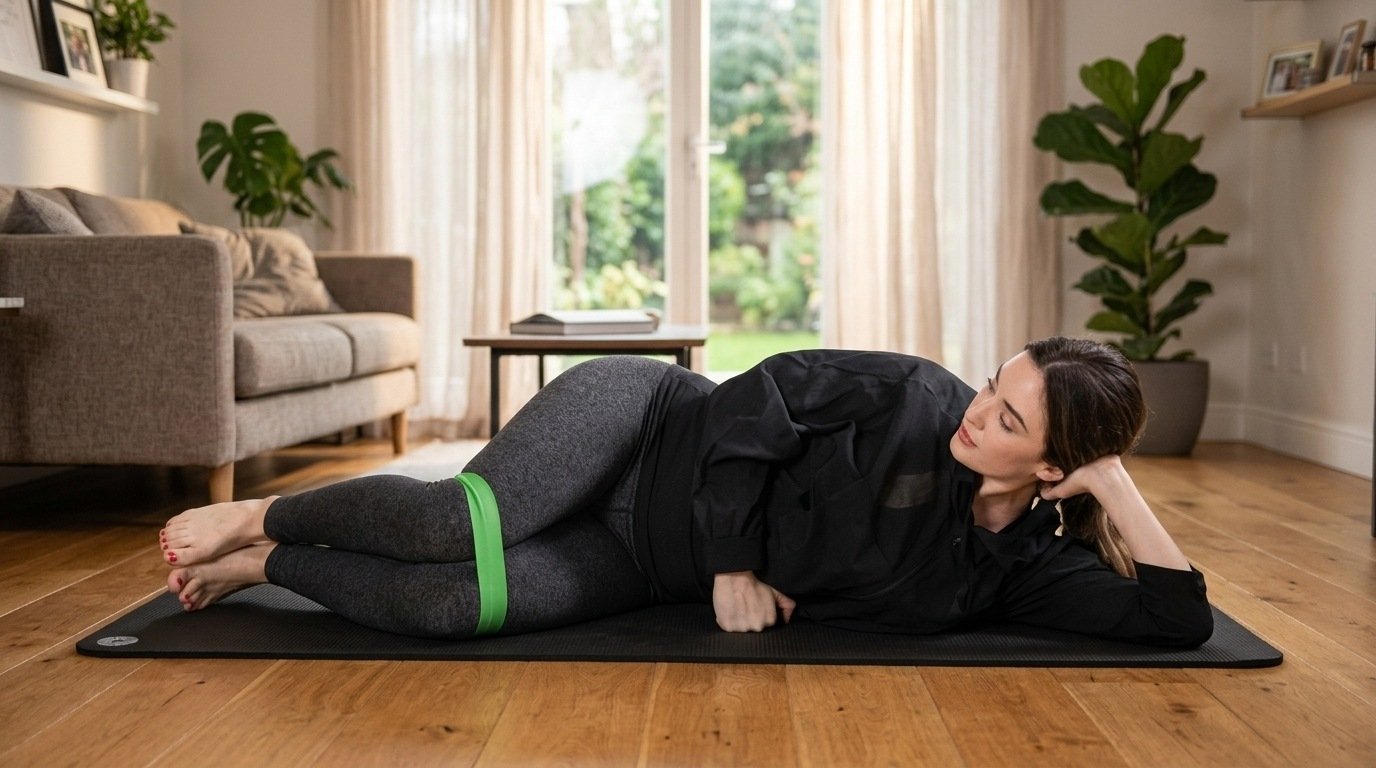
Clamshells are small in range but powerful in effect. They isolate the hip abductors and glutes in a way most exercises cannot.
Lie on your side with your knees bent at 90 degrees and your feet stacked together. Keeping your feet touching, open your top knee upward like a clamshell opening. Squeeze at the top, then close slowly.
The mistake most people make is lifting their hips off the floor. Keep them stacked and still the entire time.
You should feel a burn in the outer glute, not your lower back. Adding a resistance band just above the knees makes this move harder without adding weight. Do 3 sets of 15 to 20 reps per side.
4. Glute Bridges
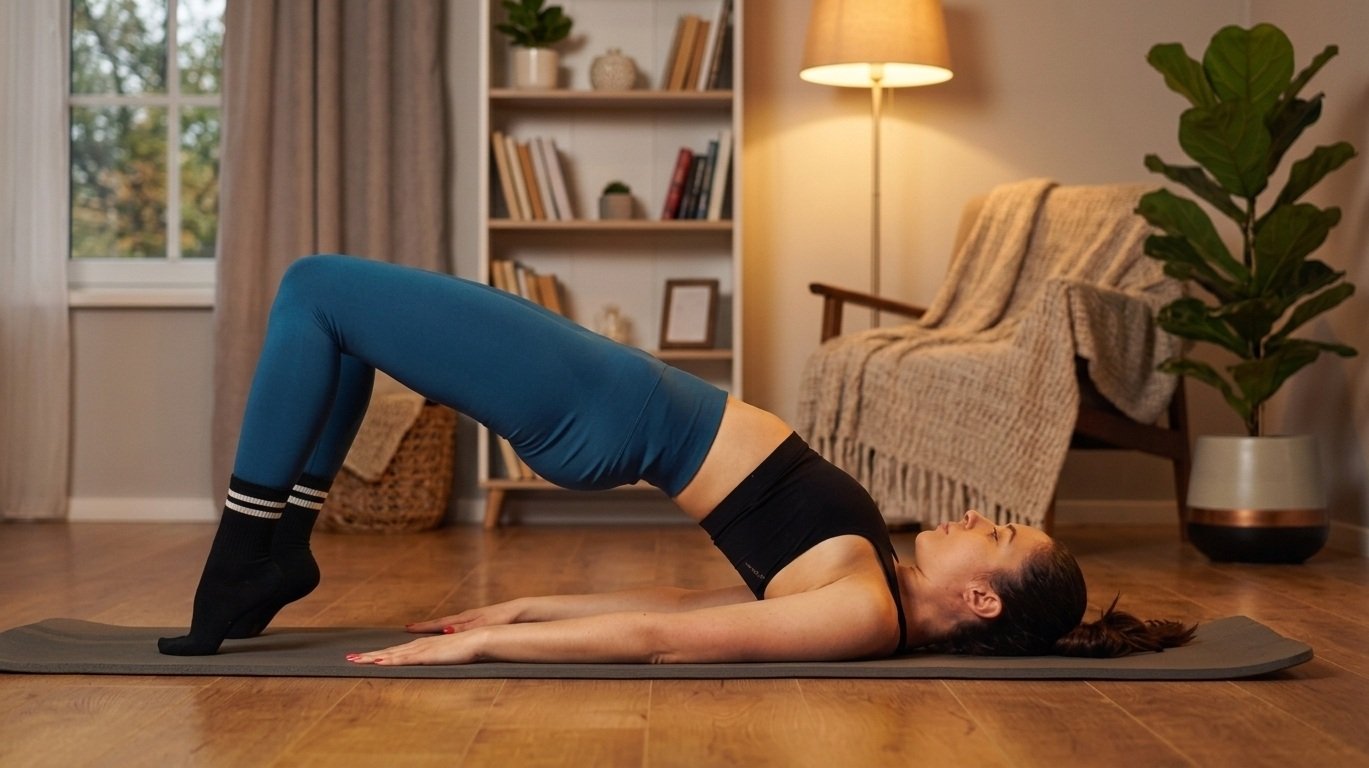
Glute bridges belong in every hip dip routine. They build the glutes from the base and improve the strength of the whole lower body.
Lie on your back with your knees bent and feet flat on the floor, hip-width apart. Press through your heels and lift your hips until your body forms a straight line from shoulders to knees.
Squeeze your glutes hard at the top. Do not arch your lower back, as that means your lower back is taking over instead of your glutes.
Hold for 2 seconds at the top, then lower slowly. Do 3 sets of 15 reps.
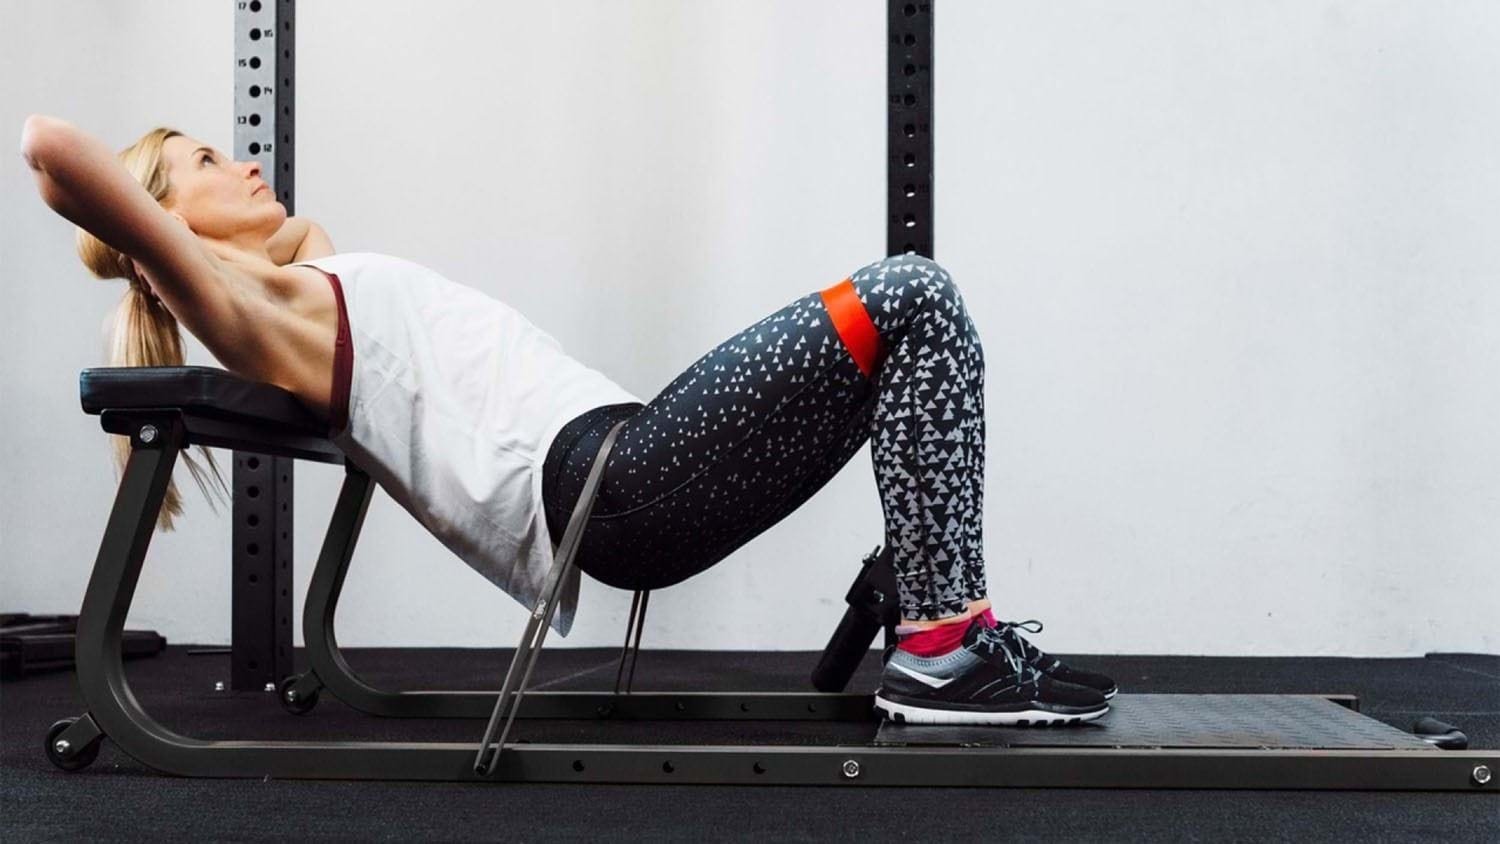
5. Hip Thrusts
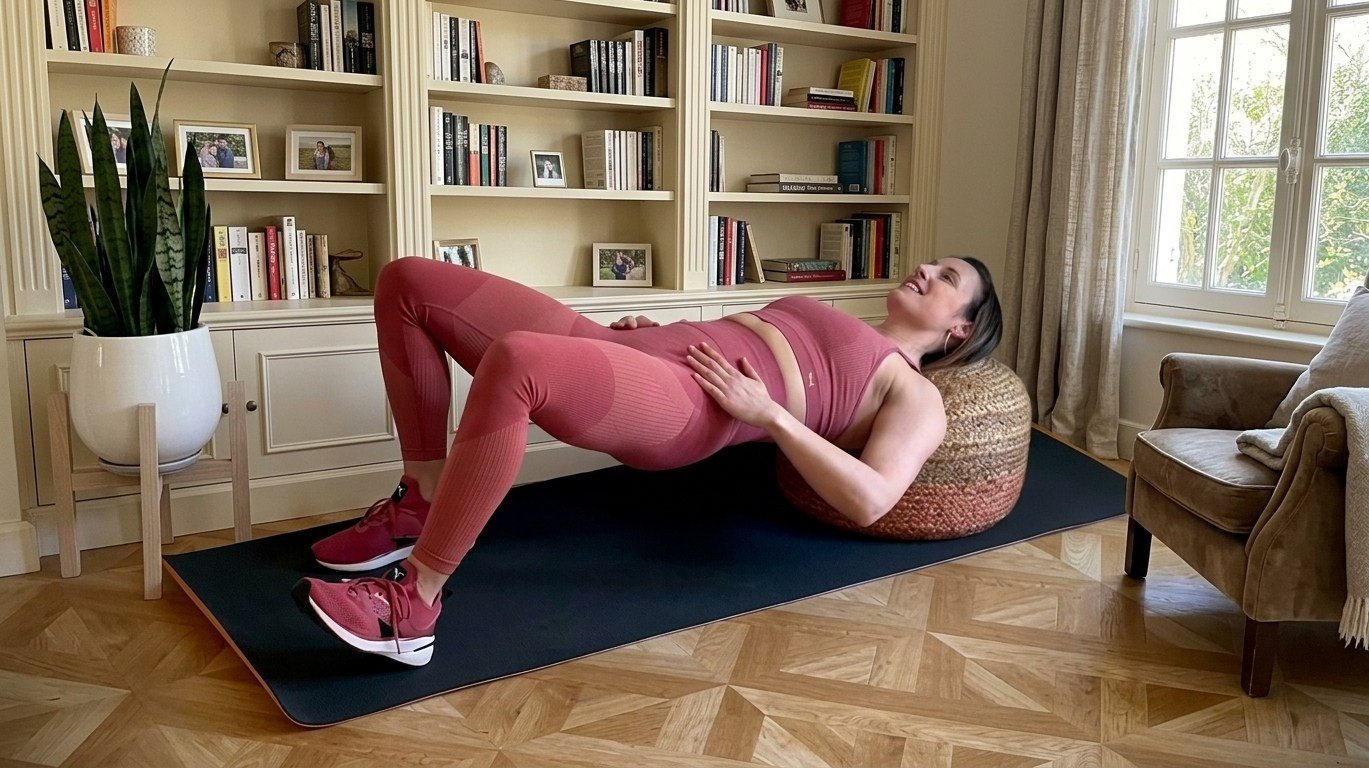
Hip thrusts are one of the most effective glute-building exercises that exist. They allow a bigger range of motion than bridges and let you add resistance over time.
Sit with your upper back resting against a bench or couch, knees bent, feet flat. Drive your hips upward until your body is parallel to the floor.
Squeeze your glutes at the top and keep your chin tucked. Avoid flaring your knees out, as they should stay in line with your feet.
Lower back down slowly and with control. Start with bodyweight. Do 3 sets of 12 reps.
6. Donkey Kicks
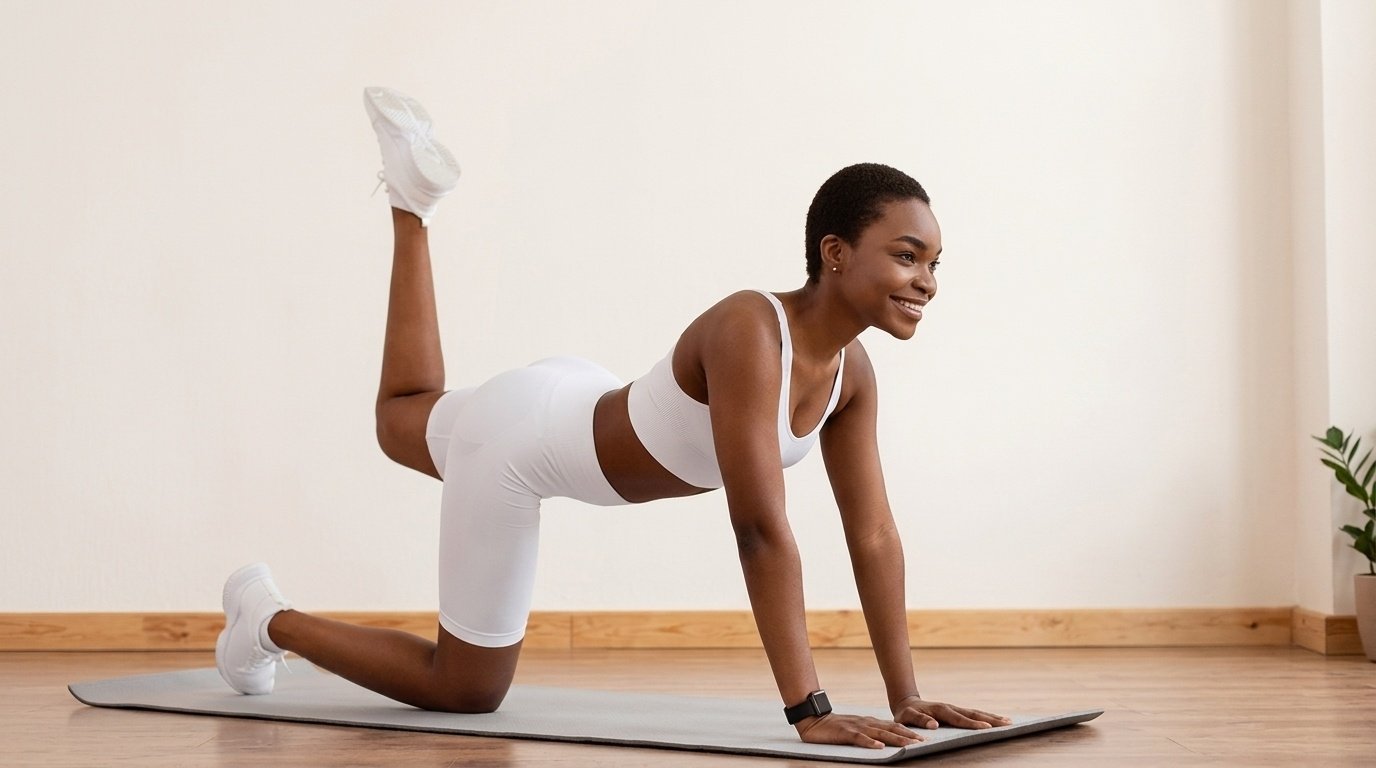
Donkey kicks zero in on the gluteus maximus with a direct pushing motion. Start on all fours with a flat back and neutral spine.
Keeping your knee bent at 90 degrees, kick one leg straight back and up, pushing your heel toward the ceiling. Squeeze the glute hard at the top.
The most common error is swinging the leg instead of controlled lifting, which reduces muscle engagement and risks lower back strain.
Move slowly. Keep your hips square and your core braced at all times. Do 3 sets of 15 reps per side.
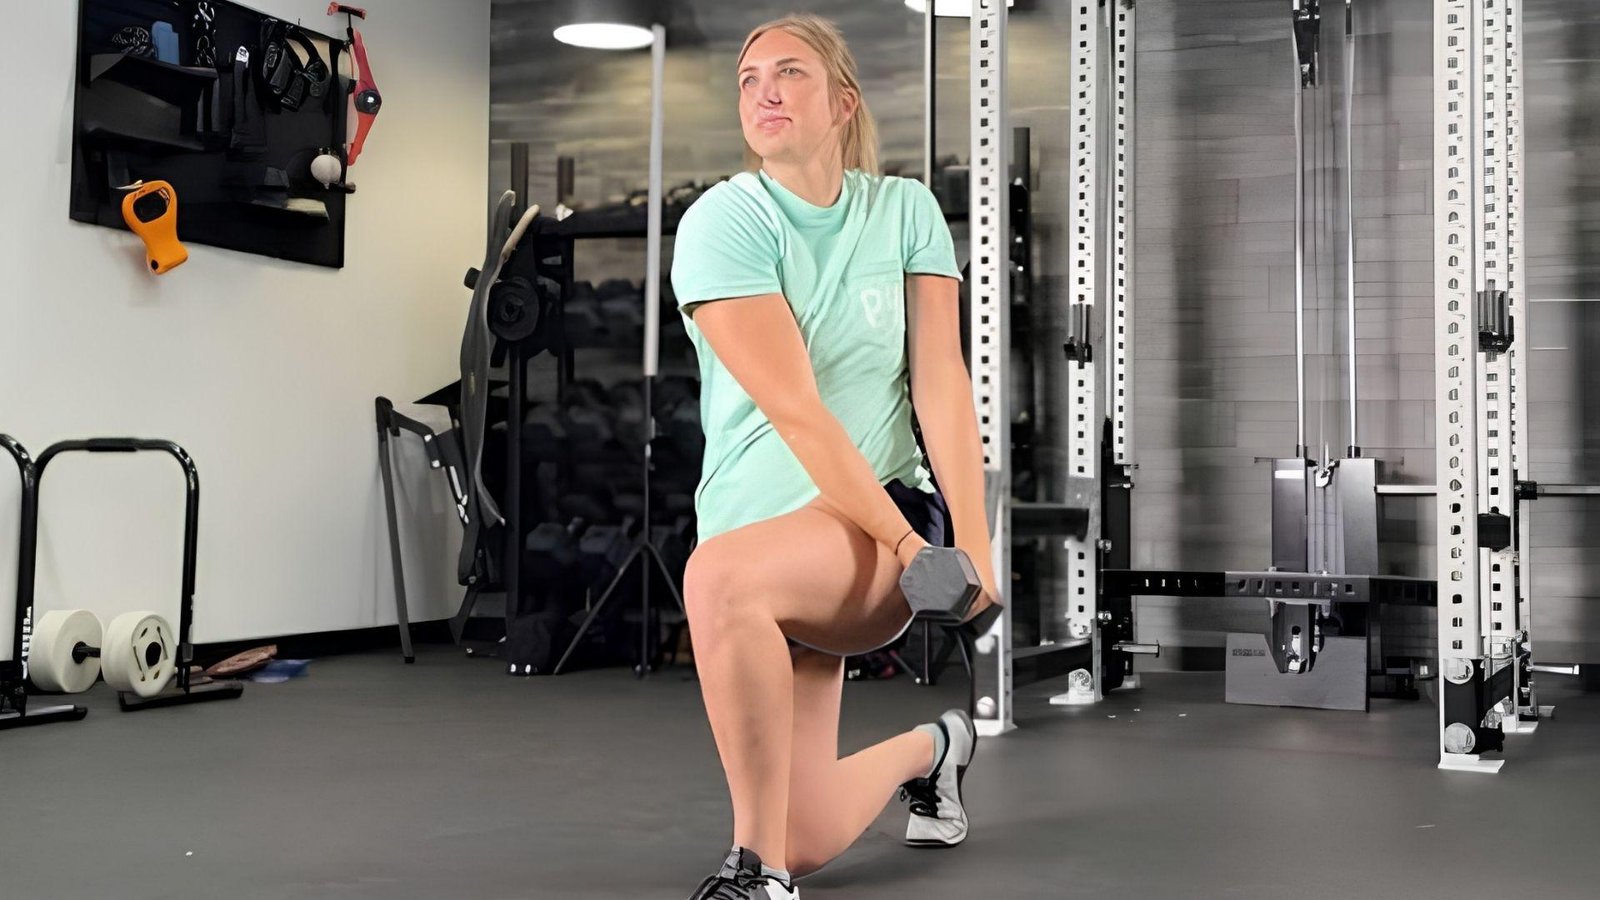
7. Curtsy Lunges
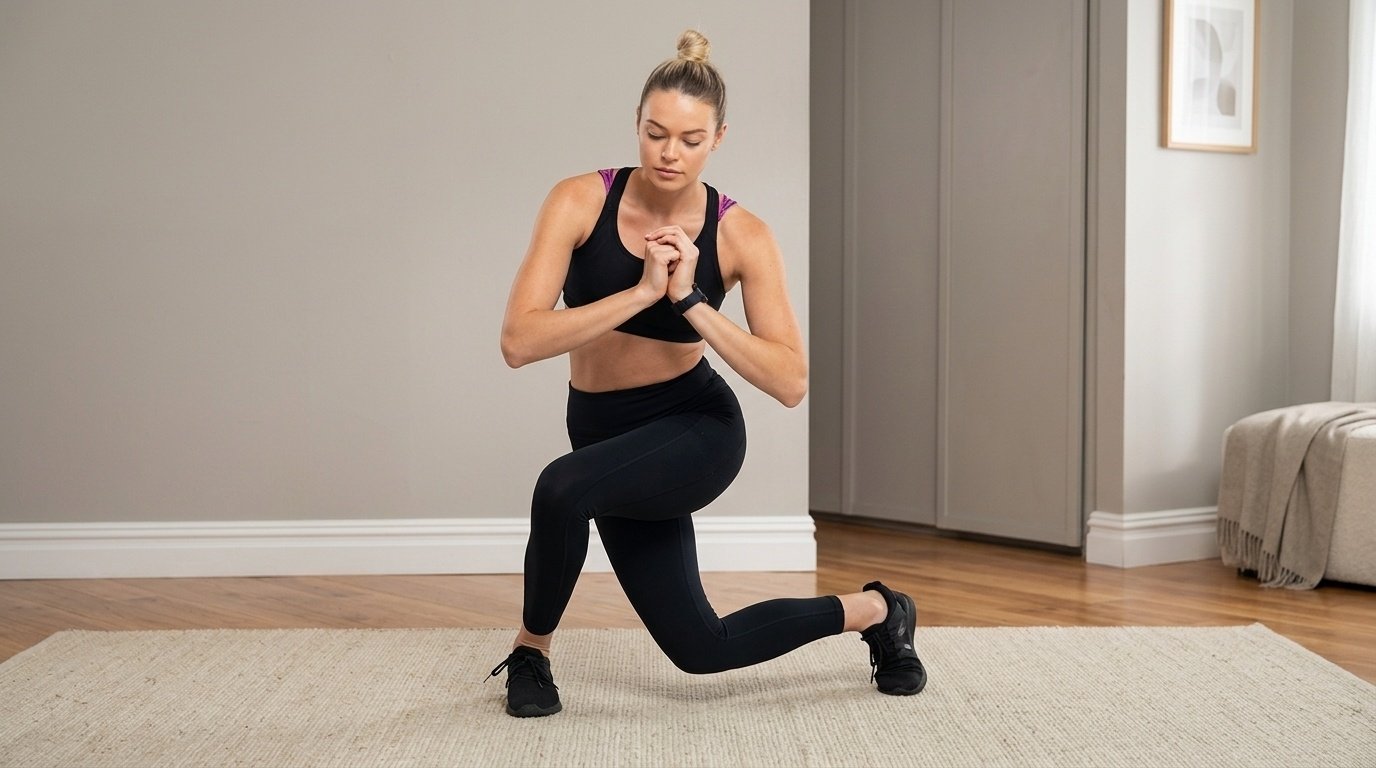
Curtsy lunges work the outer glutes and thighs in a way that regular lunges simply do not. Stand tall, then step one foot behind and to the outside of your other foot, like a curtsy.
Lower your back knee toward the floor, then push back up through the front heel.
Keep your front knee in line with your toes and do not let it cave inward. Many people lean too far forward, which puts pressure on the knees.
Stay upright. This move also improves balance and hip mobility. Do 3 sets of 10 to 12 reps per side.
8. Side Lunges
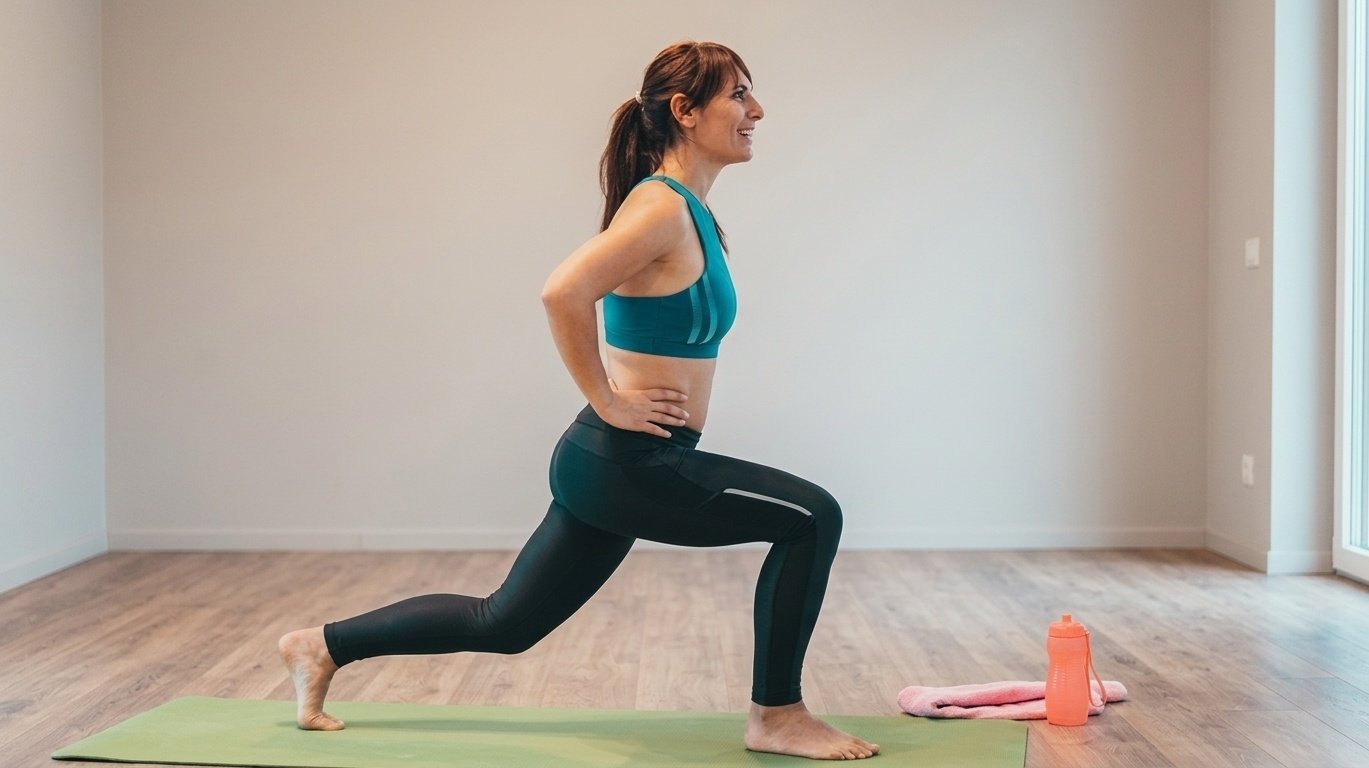
Side lunges build strength in the inner and outer thighs while improving hip mobility. Stand with your feet together, then step one foot wide out to the side.
Bend that knee and push your hips back as you lower into a squat on that side. Keep the other leg straight.
Push off through your heel to return to standing. A common mistake is letting the bent knee go past the toes, so keep your weight back in the heel.
Side lunges also stretch the inner thigh as you lower. Do 3 sets of 10 reps per side.
9. Standing Side Leg Lifts
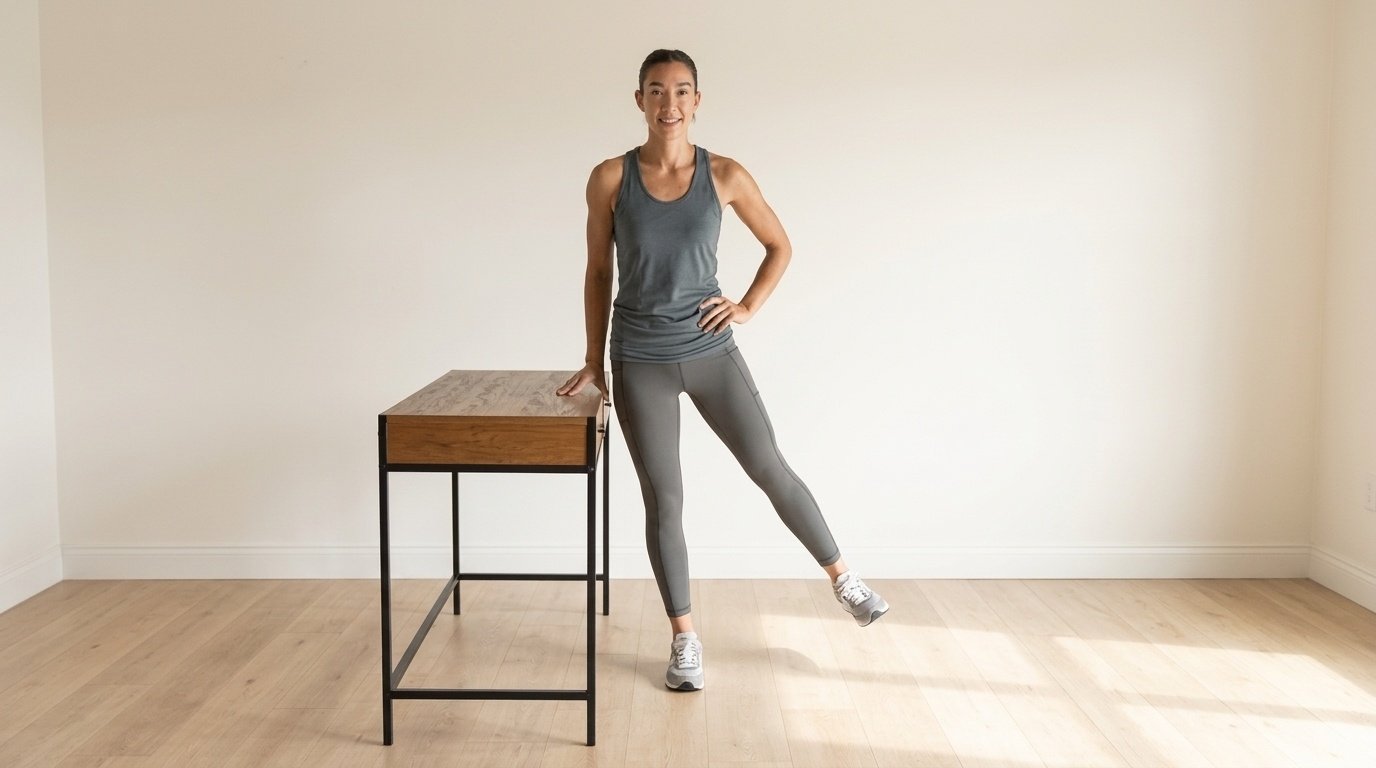
This is one of the most beginner-friendly hip dip exercises you can do. Stand tall and hold a wall or chair for balance.
Slowly lift one leg out to the side, keeping it straight, then lower it with control.
Do not lean your torso to the opposite side to get the leg higher, as that reduces how much your hip abductors work.
Keep the lift small and controlled. You should feel the work in the side of your hip, not your lower back. Do 3 sets of 15 reps per side.
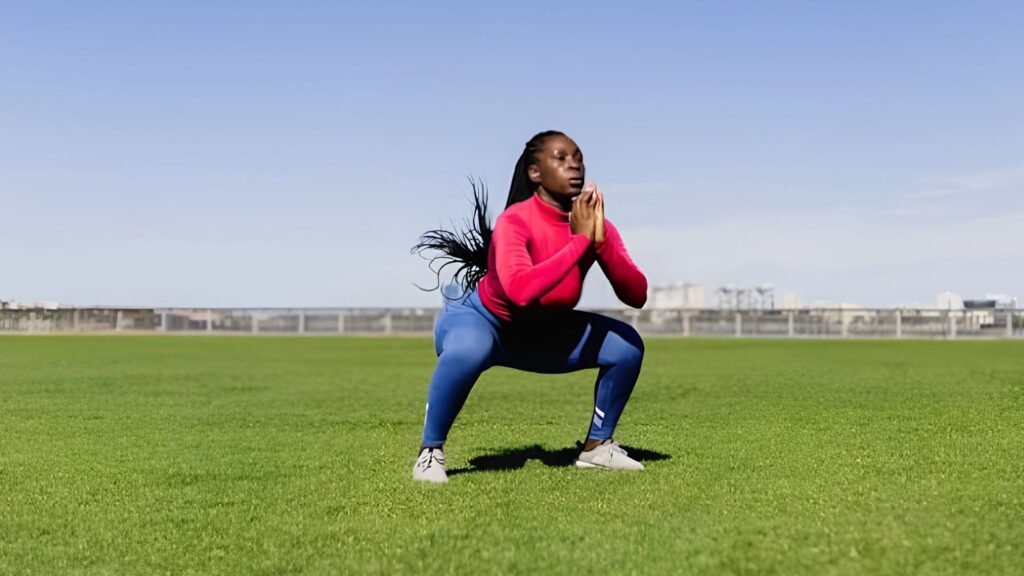
10. Sumo Squats
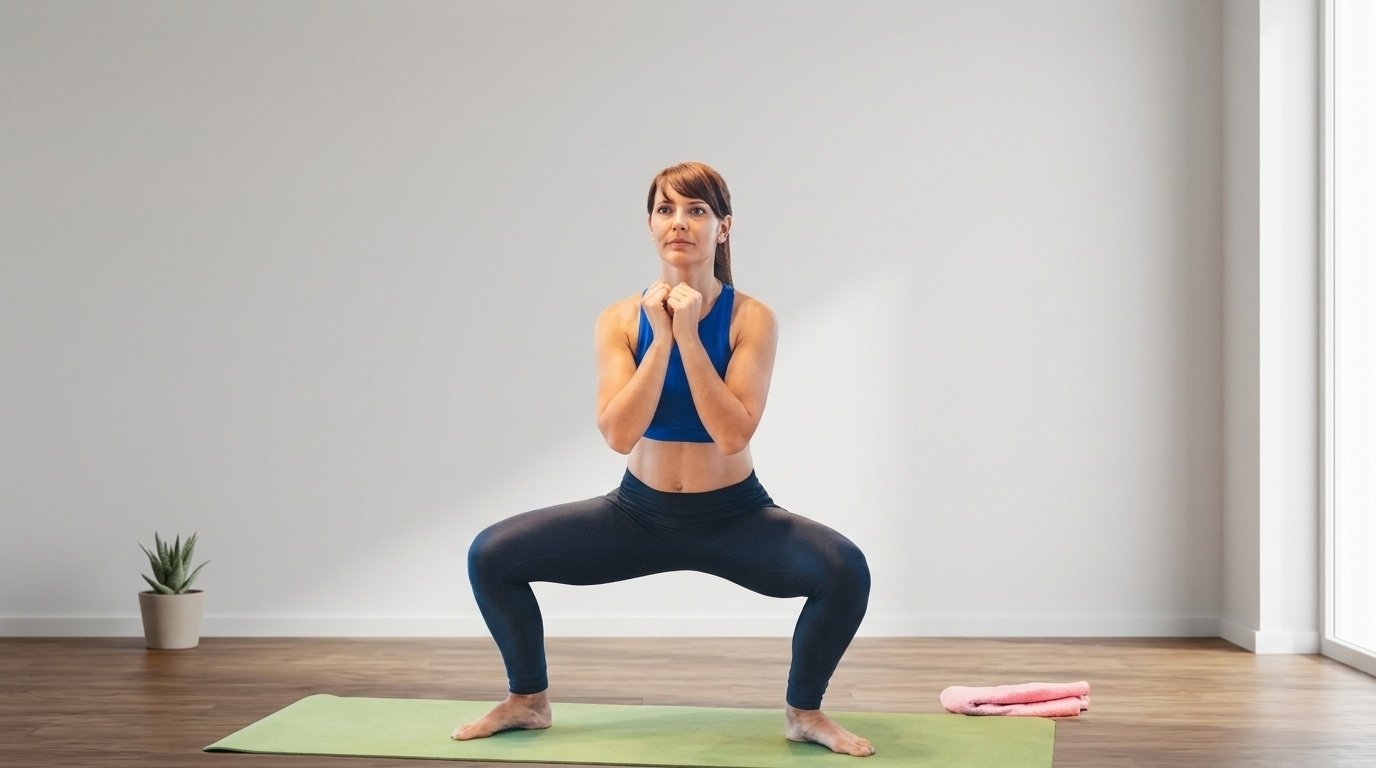
Sumo squats hit the glutes and inner thighs differently than regular squats because of the wide stance.
Stand with feet wider than shoulder-width and toes turned out at 45 degrees. Lower into a squat, keeping your chest up and knees tracking over your toes.
Many people let their knees cave inward on the way up, so push them out actively throughout the movement.
The wide stance shifts more focus to the glutes and inner thighs, making it a solid addition to any hip dip routine. Add a dumbbell or weight over time. Do 3 sets of 12 to 15 reps.
11. Banded Lateral Walks

A resistance band around your thighs or ankles forces your hip abductors to work harder with every single step.
Stand with feet hip-width apart and band in place. Lower into a slight squat position. Step one foot out to the side, then bring the other foot in and keep tension in the band at all times.
Never let the band go slack, as that removes the resistance your glutes need. Walk 10 to 15 steps in each direction.
This move is simple, but the burn it creates in the outer hips is real. Do 3 sets in each direction.
Hip Dip Exercise Workout Plan
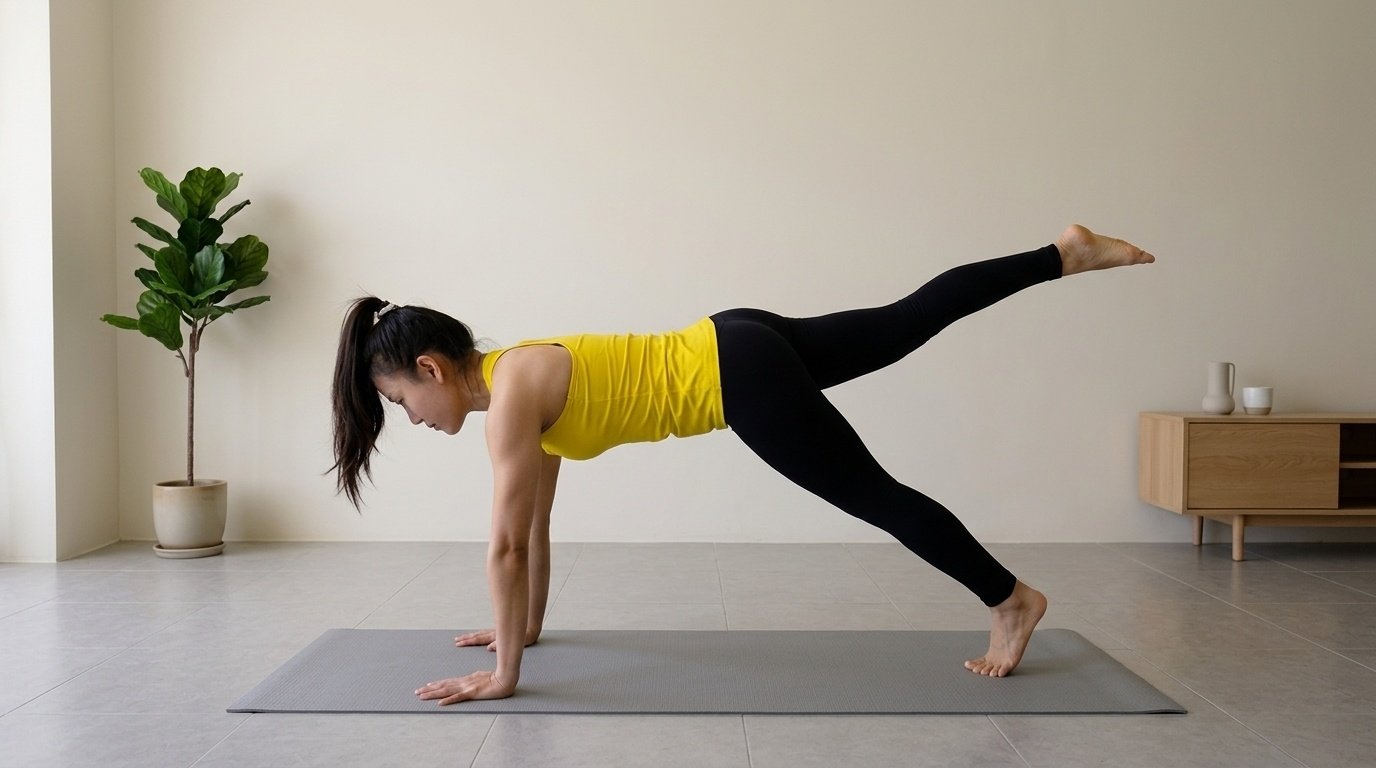
Start here if you are not sure how to put the exercises together into a real session.
Beginner 15-Minute Routine
This routine is for anyone starting out. It uses the gentlest moves from the list to build a base of hip strength.
Start with fire hydrants (3 sets of 12), side-lying leg raises (3 sets of 12), clamshells (3 sets of 15), and glute bridges (3 sets of 12). Rest 30 seconds between each set. Move slowly and focus on feeling the right muscles working. Do not rush.
Your goal in the first two weeks is to learn the movements and build the mind-muscle connection. Do this routine 3 times a week with a rest day in between.
Intermediate 20-Minute Routine
Once the beginner routine feels easy, move up to this. Add hip thrusts (3 sets of 12), donkey kicks (3 sets of 15), curtsy lunges (3 sets of 10), and banded lateral walks (3 sets of 15 steps each way).
Pair them with glute bridges and sumo squats. Rest 20 to 30 seconds between sets and aim for full range of motion on every rep.
Increase your band resistance or add light weights when the moves stop feeling challenging. Do this routine 3 to 4 times a week for best results.
Weekly Hip Dip Exercise Plan
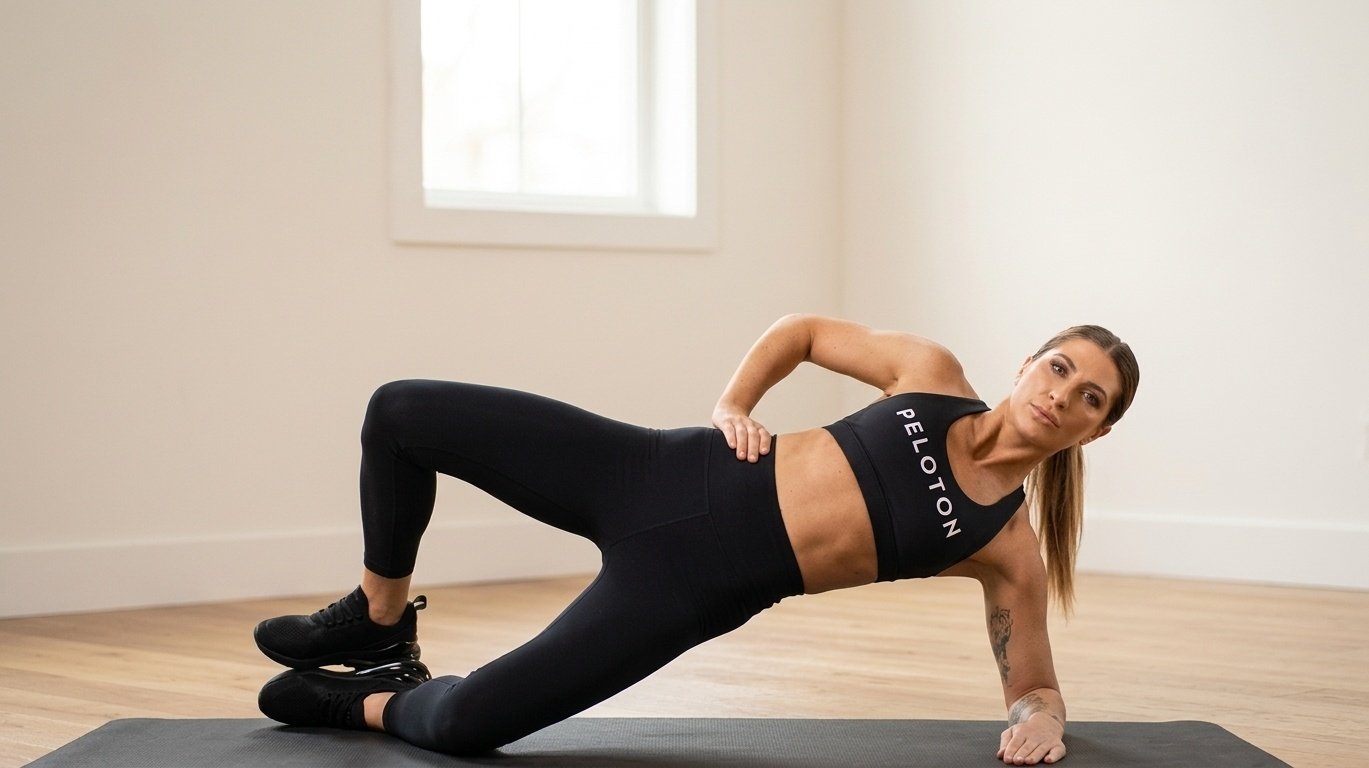
Consistency is what makes this work. Here is a simple 7-day structure to follow.
Day 1: Glute Activation: Fire hydrants, clamshells, and glute bridges to wake up the hip muscles and set the tone for the week.
Day 2: Recovery and Stretching:Light yoga, hip flexor stretches, and foam rolling to reduce soreness and keep muscles loose.
Day 3: Strength Workout:Hip thrusts, donkey kicks, curtsy lunges, and banded lateral walks for a full glute session.
Day 4: Active Recovery: A light 20-minute walk or gentle mobility work, enough to stay moving without stressing the muscles.
Day 5: Full Hip Dip Exercise Routine: Complete all 11 exercises in one session at a controlled pace with moderate resistance.
Day 6: Mobility and Core: Side lunges, leg swings, and core work like planks and dead bugs to support hip stability.
Day 7: Rest. Full rest: Let your muscles repair and grow. This day matters as much as the training days do.
Tips to Get Better Results
Small habits make a big difference when they are done consistently.
- Focus on proper form instead of speed. A slow, controlled rep with the right muscle working beats 20 fast, sloppy reps every time. Form is where your results come from.
- Increase resistance gradually. Add a band or a light weight only when the current level feels easy. Progressing too fast leads to poor form and less muscle gain.
- Eat enough protein to support muscle growth. Muscles need protein to grow. Aim for at least 0.7 to 1 gram of protein per pound of body weight each day.
- Stay consistent with your routine. Three focused sessions a week for 8 weeks will beat one perfect week followed by nothing. Show up regularly.
- Allow time for recovery and sleep. Muscles grow during rest, not during the workout. Aim for 7 to 9 hours of sleep and take rest days seriously.
How Long Does It Take to See Results?
In the first 2 to 4 weeks, you will likely notice that your muscles feel more engaged and your strength is improving, even if you cannot see big changes yet.
Around the 8 to 12 week mark, you may start seeing visible changes in the shape and fullness of your outer hips and glutes, especially if you are eating well and staying consistent.
Progress depends on several factors: how often you train, how much protein you eat, your sleep quality, and your genetics.
Body composition, meaning the ratio of muscle to fat, also plays a role in how visible your results become. No two people respond exactly the same. Be patient and trust the process.
Can a Hip Dip Exercise Get Rid of Hip Dips?
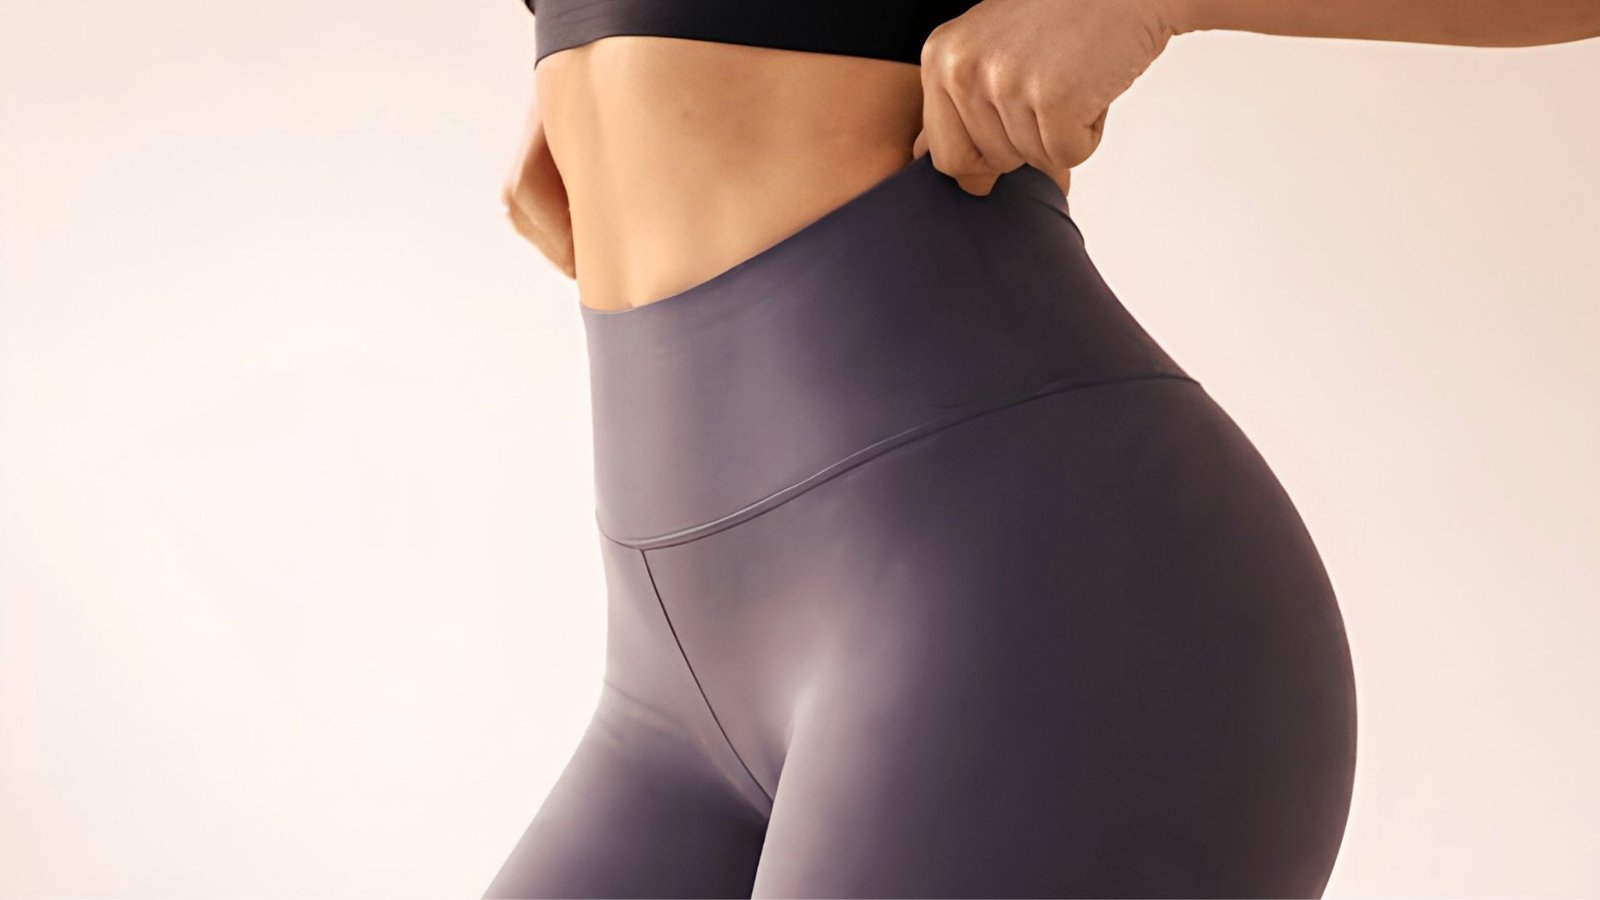
The honest answer is no, not completely. Hip dips are shaped by the position of your hip bones and your pelvis, which are determined by genetics.
No exercise can change your bone structure. The pelvis shape, the width of the iliac crest, and where the skin attaches to the deeper tissue all decide how visible your violin hips look.
But here is what exercise can do: it can build the gluteus medius and surrounding muscles enough to fill in that area and soften the appearance of the dip.
Good hip stability, the kind that comes from training these muscles regularly, also helps with posture and reduces knee and lower back strain over time.
Many people who train consistently notice a real visual difference. The goal is not to fix your body. It is to build a stronger, more capable lower body that you feel good in.
Conclusion
Hip dips did not disappear overnight for me. But somewhere between the sore glutes and the slow reps, something shifted.
My hips felt stronger. My posture got better. And I stopped staring at the mirror with frustration.
That is what this is really about.
Pick one exercise from this list and do it today. Just one. Then show up again tomorrow. Small starts beat perfect plans every time.
Drop a comment and tell me which move you are starting with. I read every single one.
Frequently Asked Questions
Can men get hip dips too?
Yes, men can have hip dips just as women can, since they are caused by bone structure and genetics, not gender.
Should I do hip dip exercises every day?
No, training the same muscles daily prevents recovery, so aim for 3 to 4 sessions per week with rest days in between.
Do hip dips get worse when you lose weight?
Yes, losing body fat can make hip dips look more pronounced because less fat sits over the area, which is why building muscle there matters.
Can tight hip flexors make hip dips look worse?
Yes, tight hip flexors pull the pelvis forward and affect posture in a way that makes the dip on the outer hip appear deeper and more visible.